About Lost Messages Routing
Lost Messages Routing is an Odoo app, which helps to make sure that no messages are lost. If any email can't be attached, it would be marked as 'lost' and would be added to the special view, from where you will be able to attach them to the required document thread.
You can route both lost messages and any other messages, which are stored in Odoo. Lost messages are kept in the special menu 'Lost Messages'. Ordinary messages are kept in the Odoo technical menu 'Messages'.
The app allows lost messages batch addressing through the tree mass action. In such a way, a few messages might be added to the same Odoo document.
It is possible to restrict Odoo models to which messages might be routed. This way, responsible users will be able to route messages only to allowed-for-routing models.
Configure Odoo to send notifications about lost messages. Choose users that should be warned.
In order to be able to manage the lost messages, the special user group 'Lost Messages Manager' is introduced. This is the only type of user that can see the app and manage lost messages.
Convenient lost message menu
Simple addressing and mass processing
Configurable notifications
Secured administration
Access Rights
In order to be able to manage the lost messages, the special user group 'Lost Messages Manager' is introduced. This is the only type of user that can see the app and manage lost messages. Other users have no access to it. To assign a 'Lost Messages Manager':
1. Go to the General Settings
2. Choose a particular user
3. Click 'Edit'
4. Scroll to the bottom of the page to the section 'Other'
5. Find the field 'Lost Messages Manager' and tick it
6. Click 'Save'
After assigning the user group 'Lost Messages Manager', the special menu 'Lost Messages' will become available for such users. Messages can be routed through it even if the developer mode is off.
Admin can route a message in developer mode through the technical menu even without being a lost messages manager.
It is also important to have rights not only for the model but also for the objects to which a message should be routed. Without access, the object will not be visible at the step of defining a model and object for routing. Thus, without access to the object, a user will not be able to route a message to it.
For example, a lost messages manager received a message from Azure Interior with the request to change the delivery date of the Sales Order 'S0063'. The manager has the access to the model 'Sales Order', so he/she can use it as a Parent Object. However, in the list of available objects, the user will not find the order 'S0063' as another salesperson is responsible for this order.

Lost Messages Notifications
To be able to react quickly, when a message is lost, it is possible to set notifications. Choose users that should be warned and if a message will be marked as 'lost' they will be notified by an email.
To configure notifications:
1. In the menu Lost Messages
2. Click 'Configuration'
3. Tick the box 'Lost messages notification'
4. Choose some users to be notified
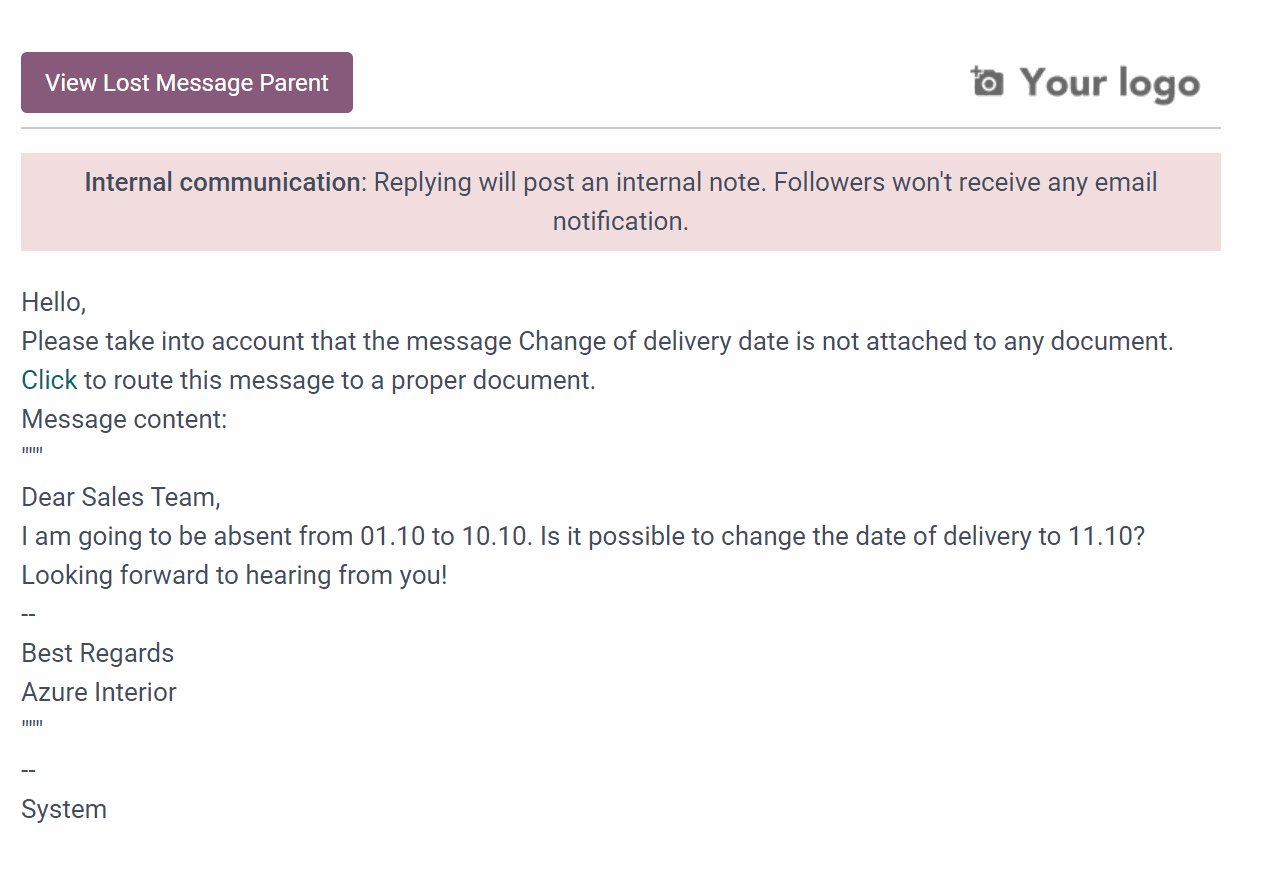
The chosen users will be notified about each lost message by email. The email subject will be 'The message is not attached'. In the email's body, users will find the subject of the lost message if any and the body of the message.
You can open the lost message for further actions, by clicking the button 'Click'. After that, you will be redirected to the message form, from which a message can be routed (see Routing Lost Messages).
Managing Lost Messages
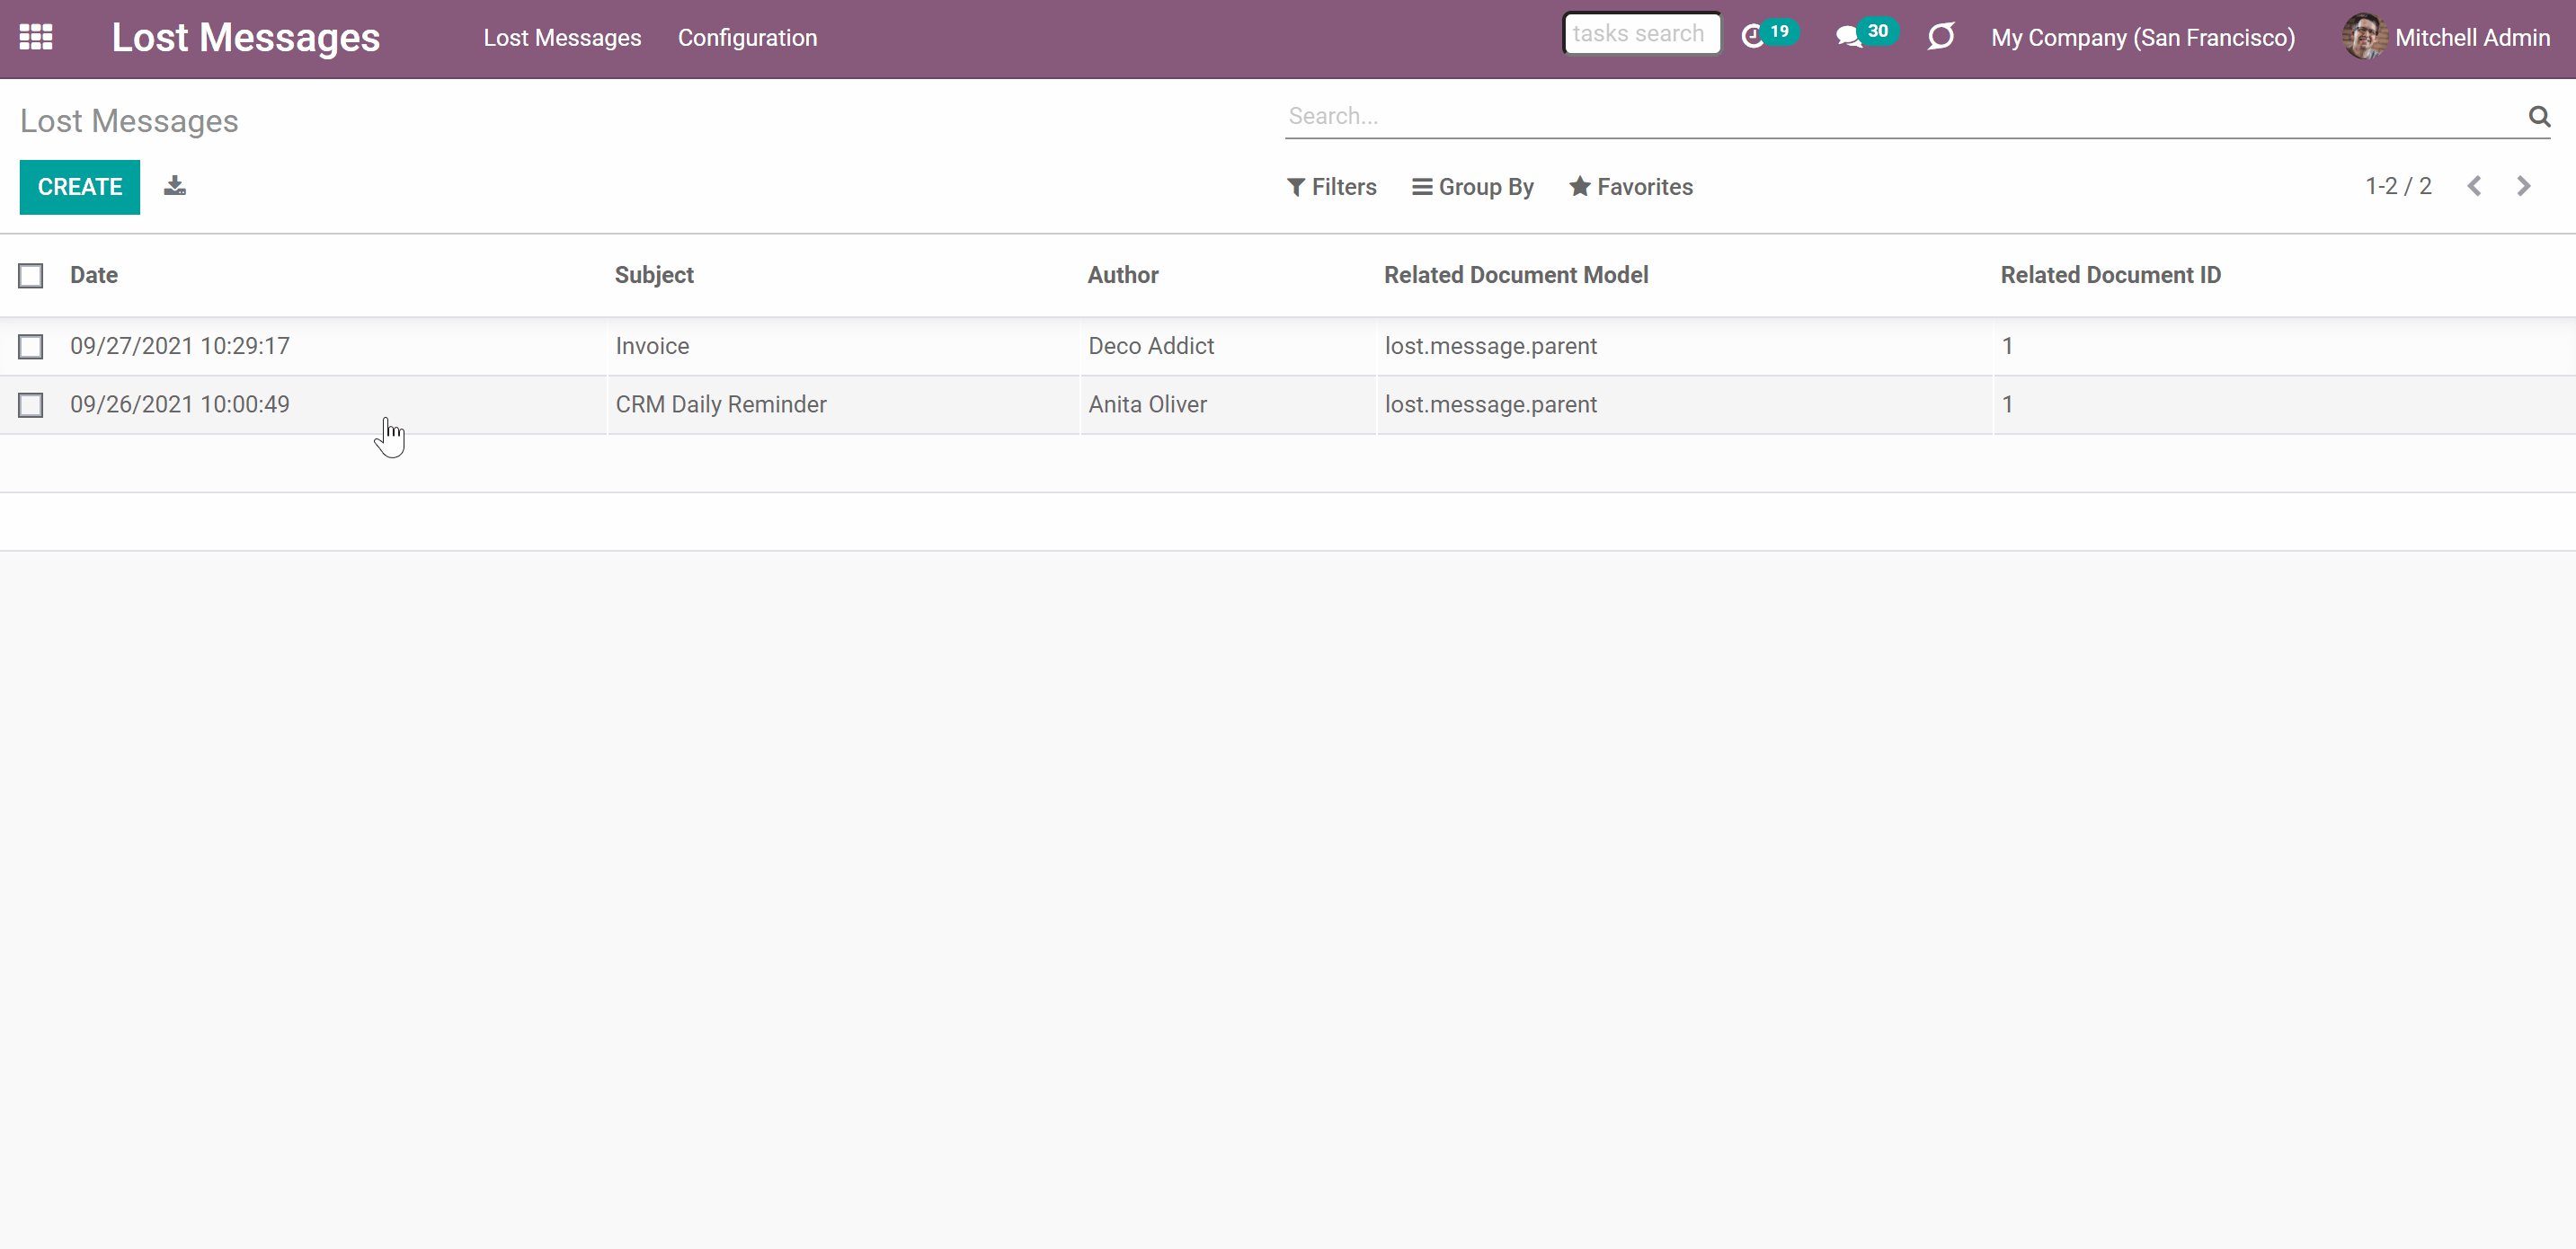
A lost message - is a message, which cannot be attached automatically by Odoo to any object's thread. The module Lost Messages Routing finds such messages using the standard Odoo mail fetching scheduled job and marks them as 'lost'. After that, the messages are moved to the special menu 'Lost Messages'.
The module Lost Messages Routing has a convenient interface, which can be accessed in two ways. To open the Lost Messages menu:
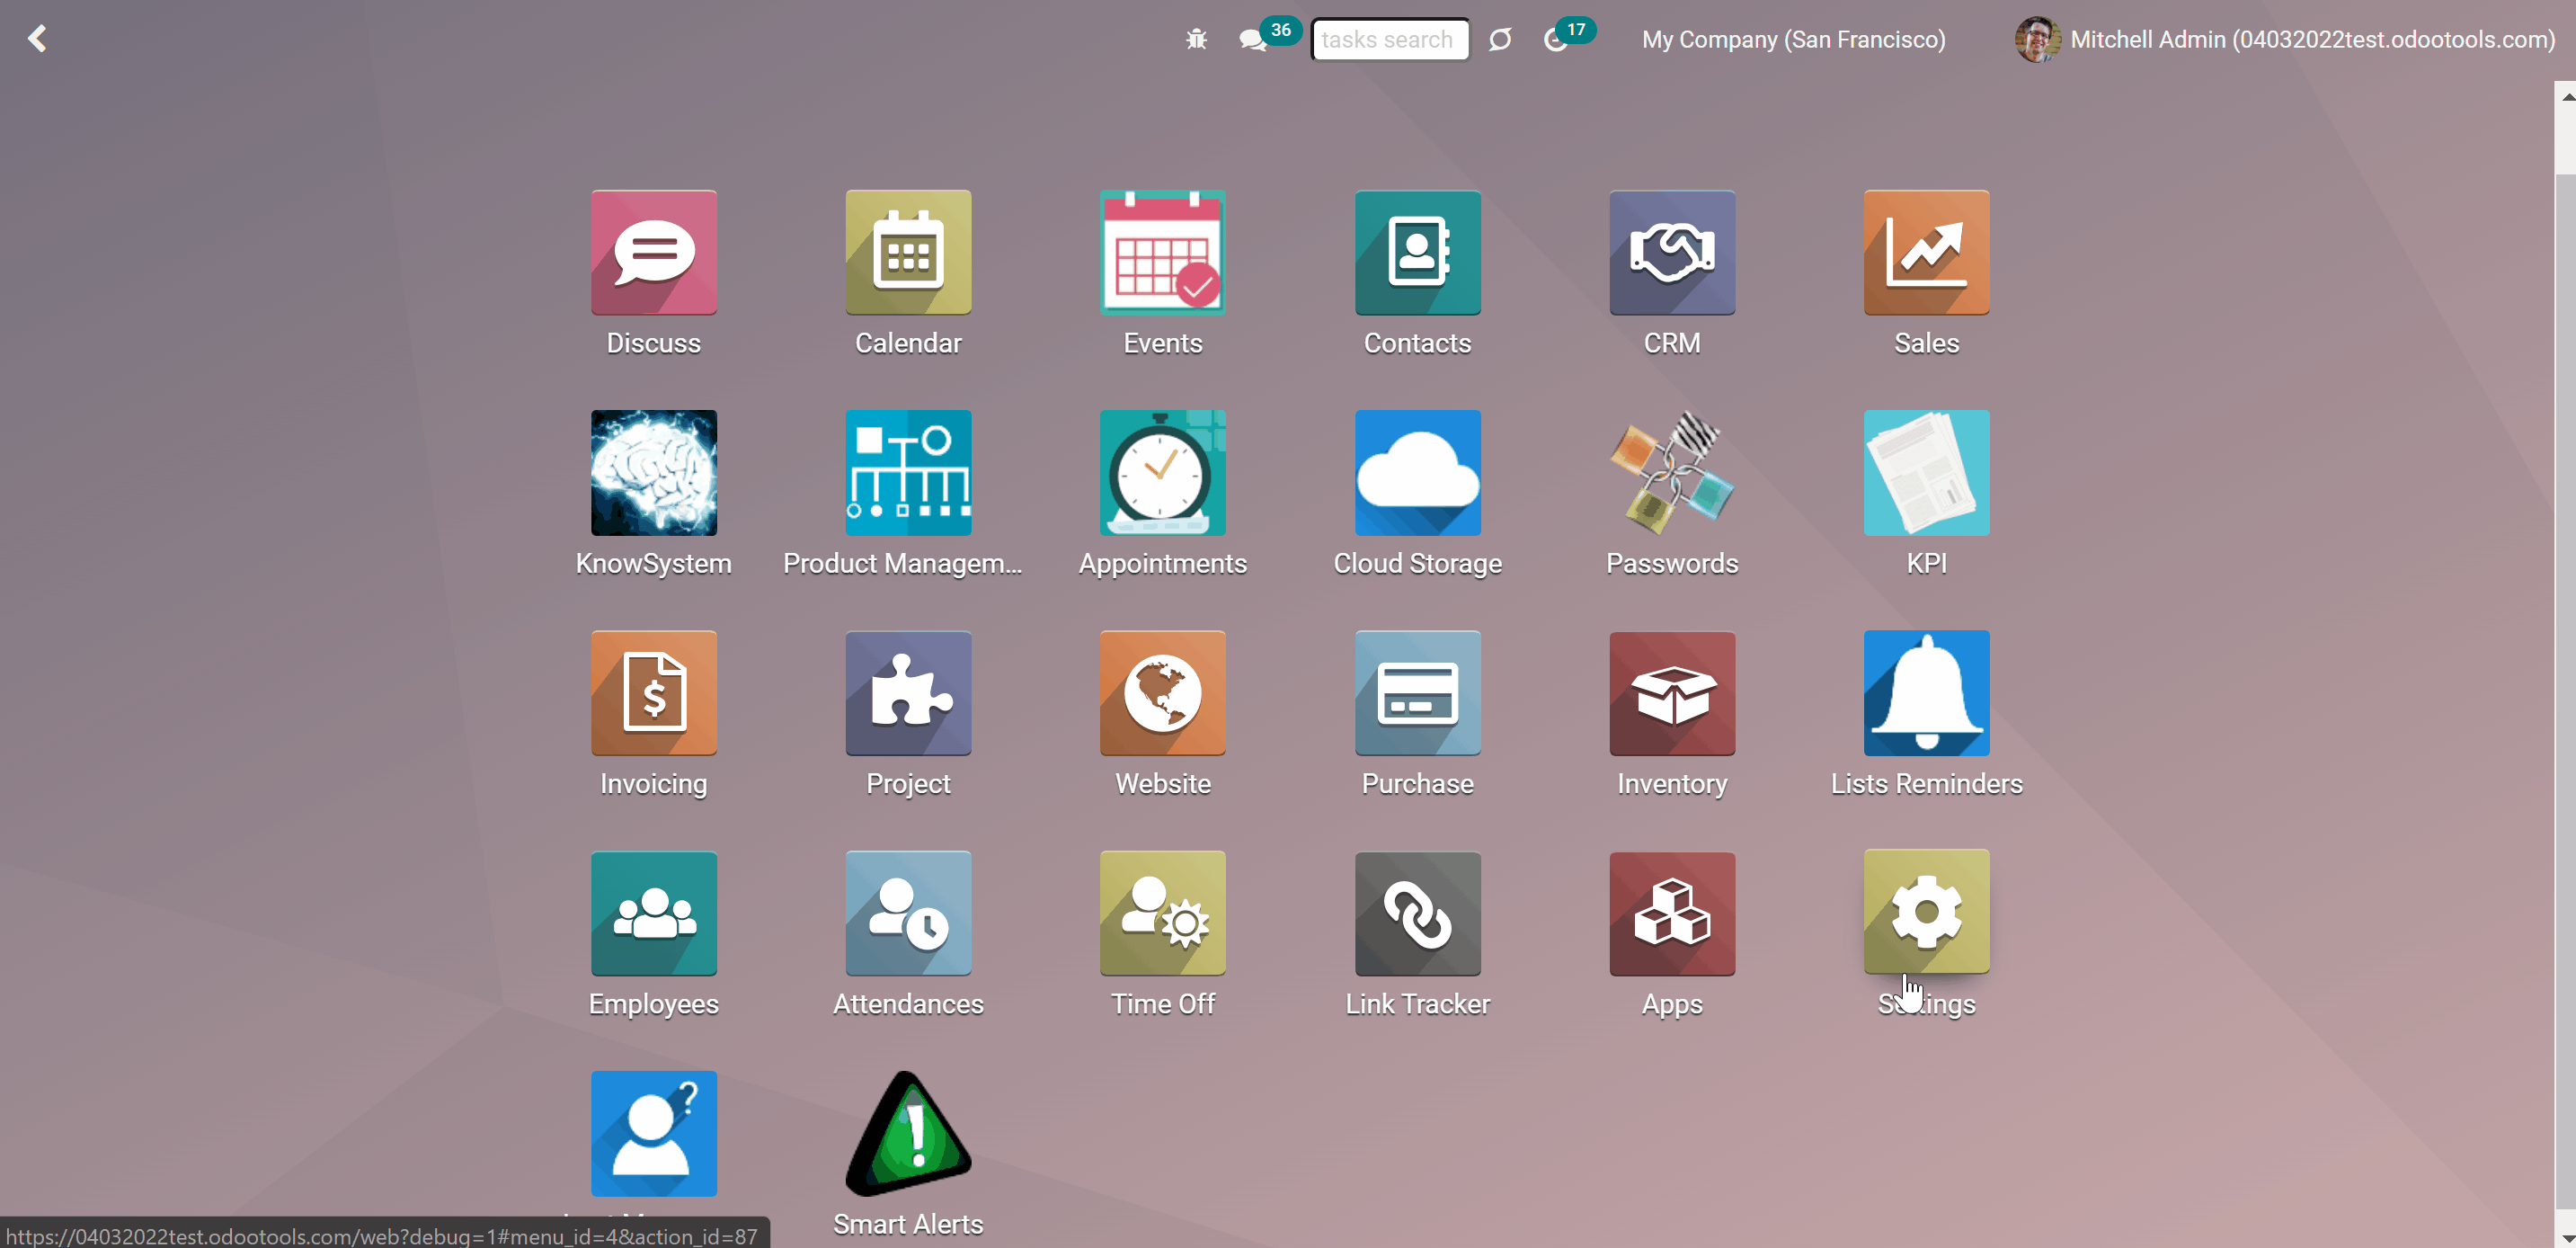
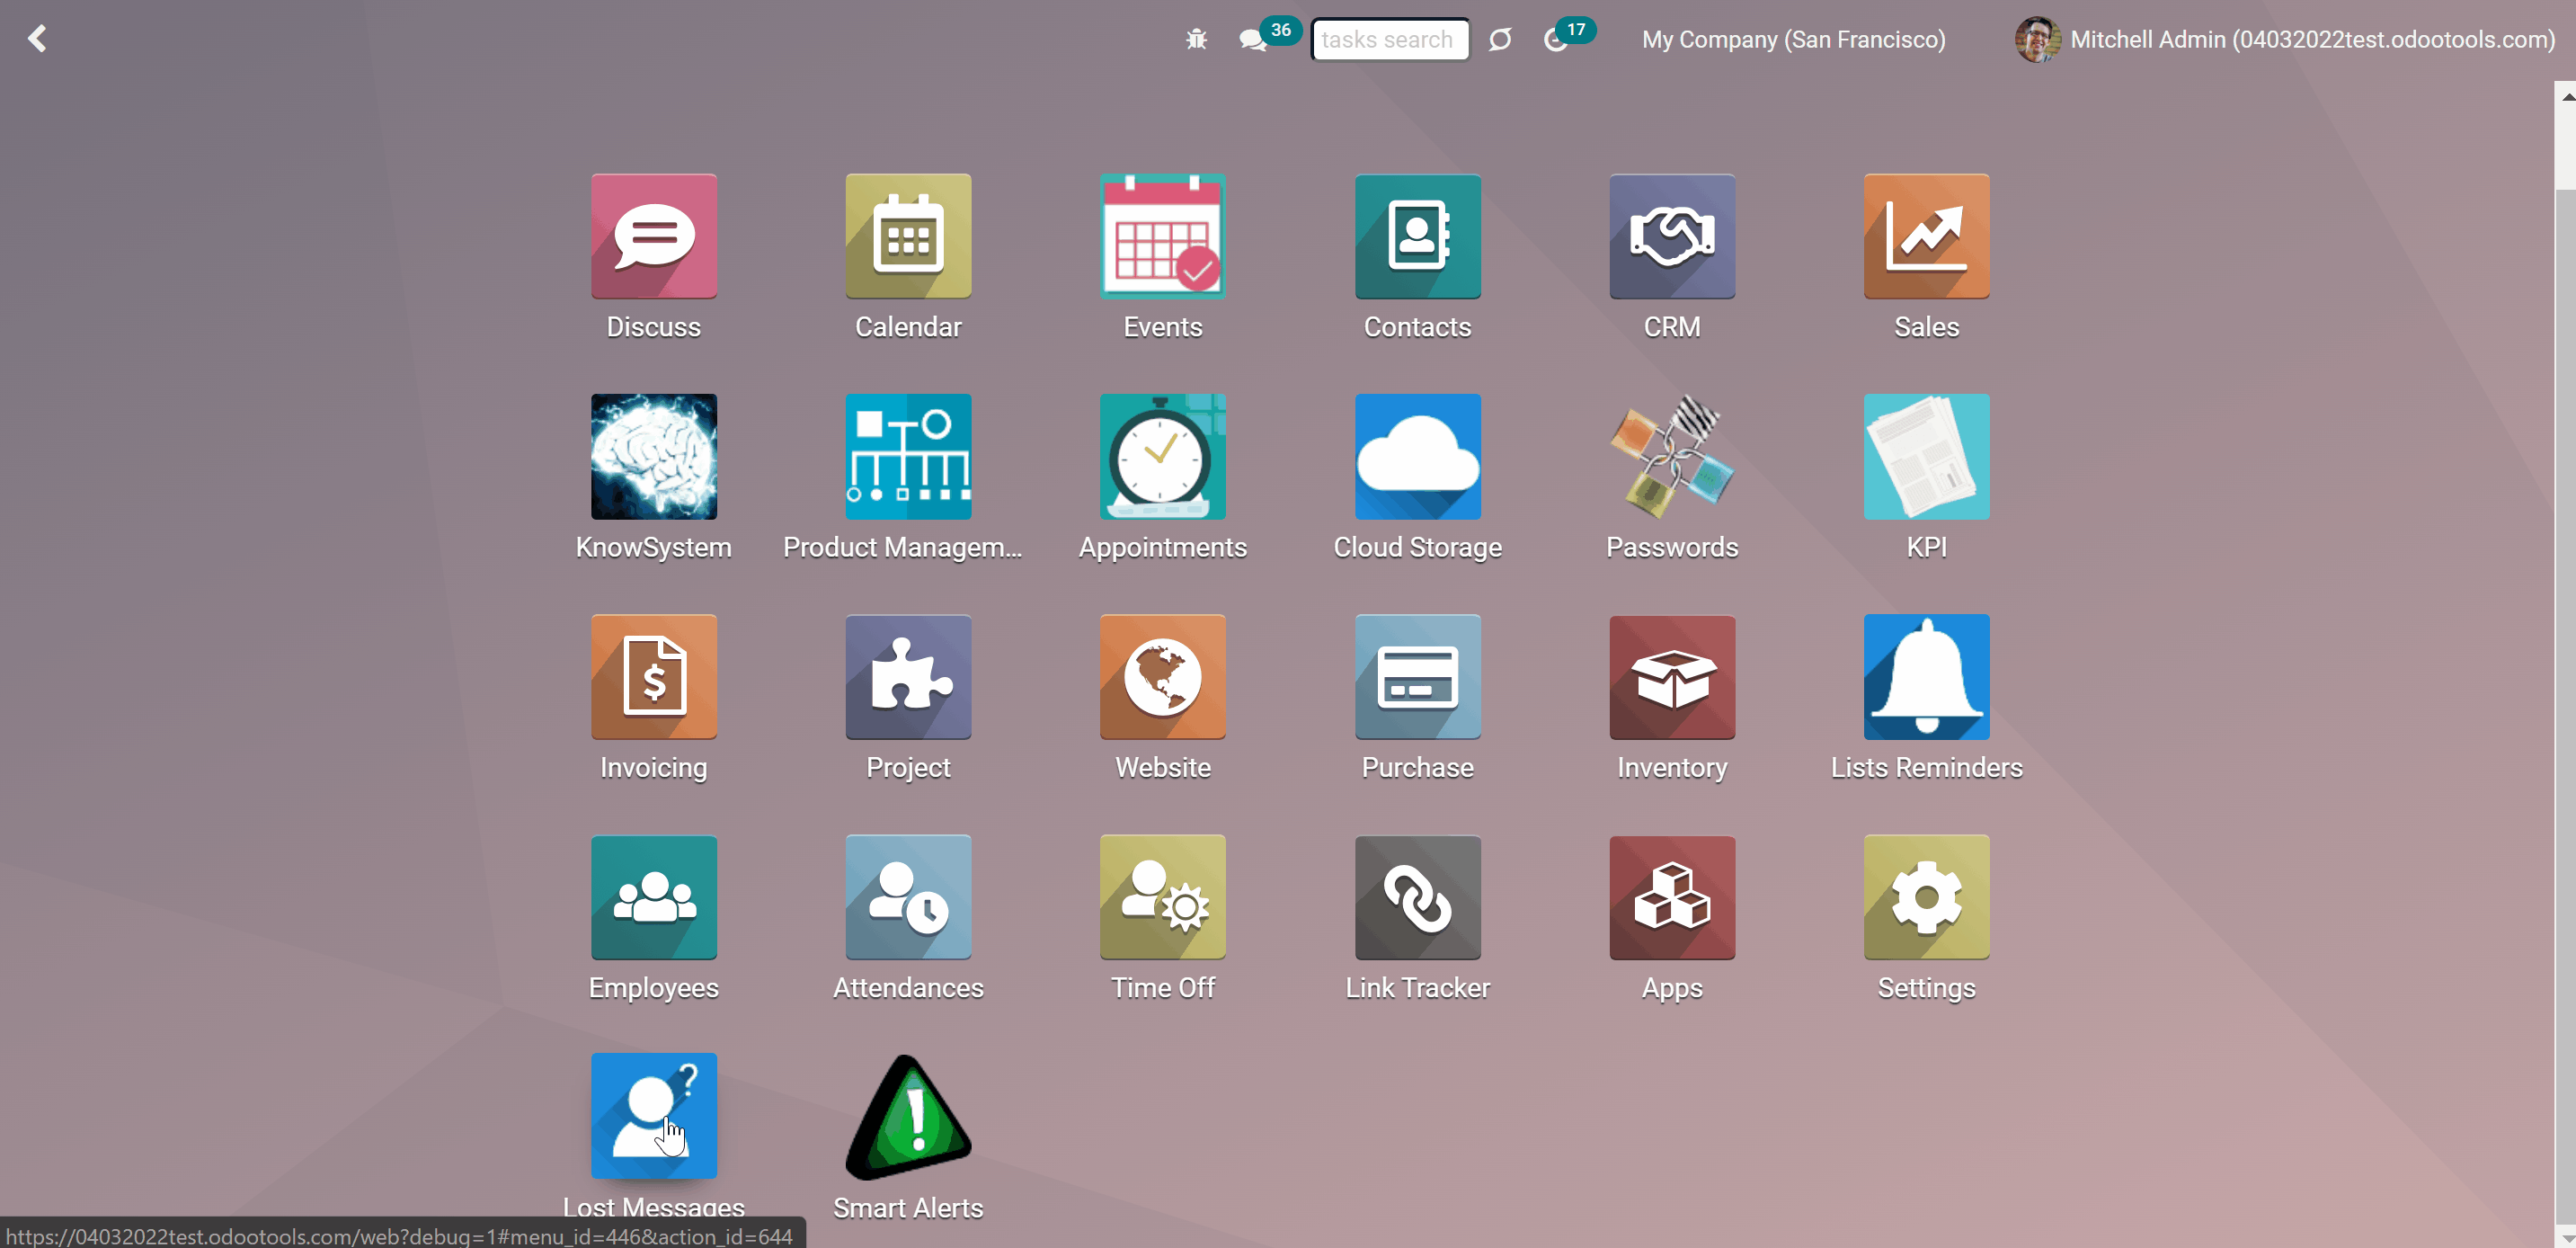
1. Click on the app's icon on the main interface (visible only by the user group 'Lost Messages Manager')
2. In developer mode, go to Technical > Lost Messages (available for the system administrator)
As you open the app you see the same interface as used in the technical menu 'Messages'.
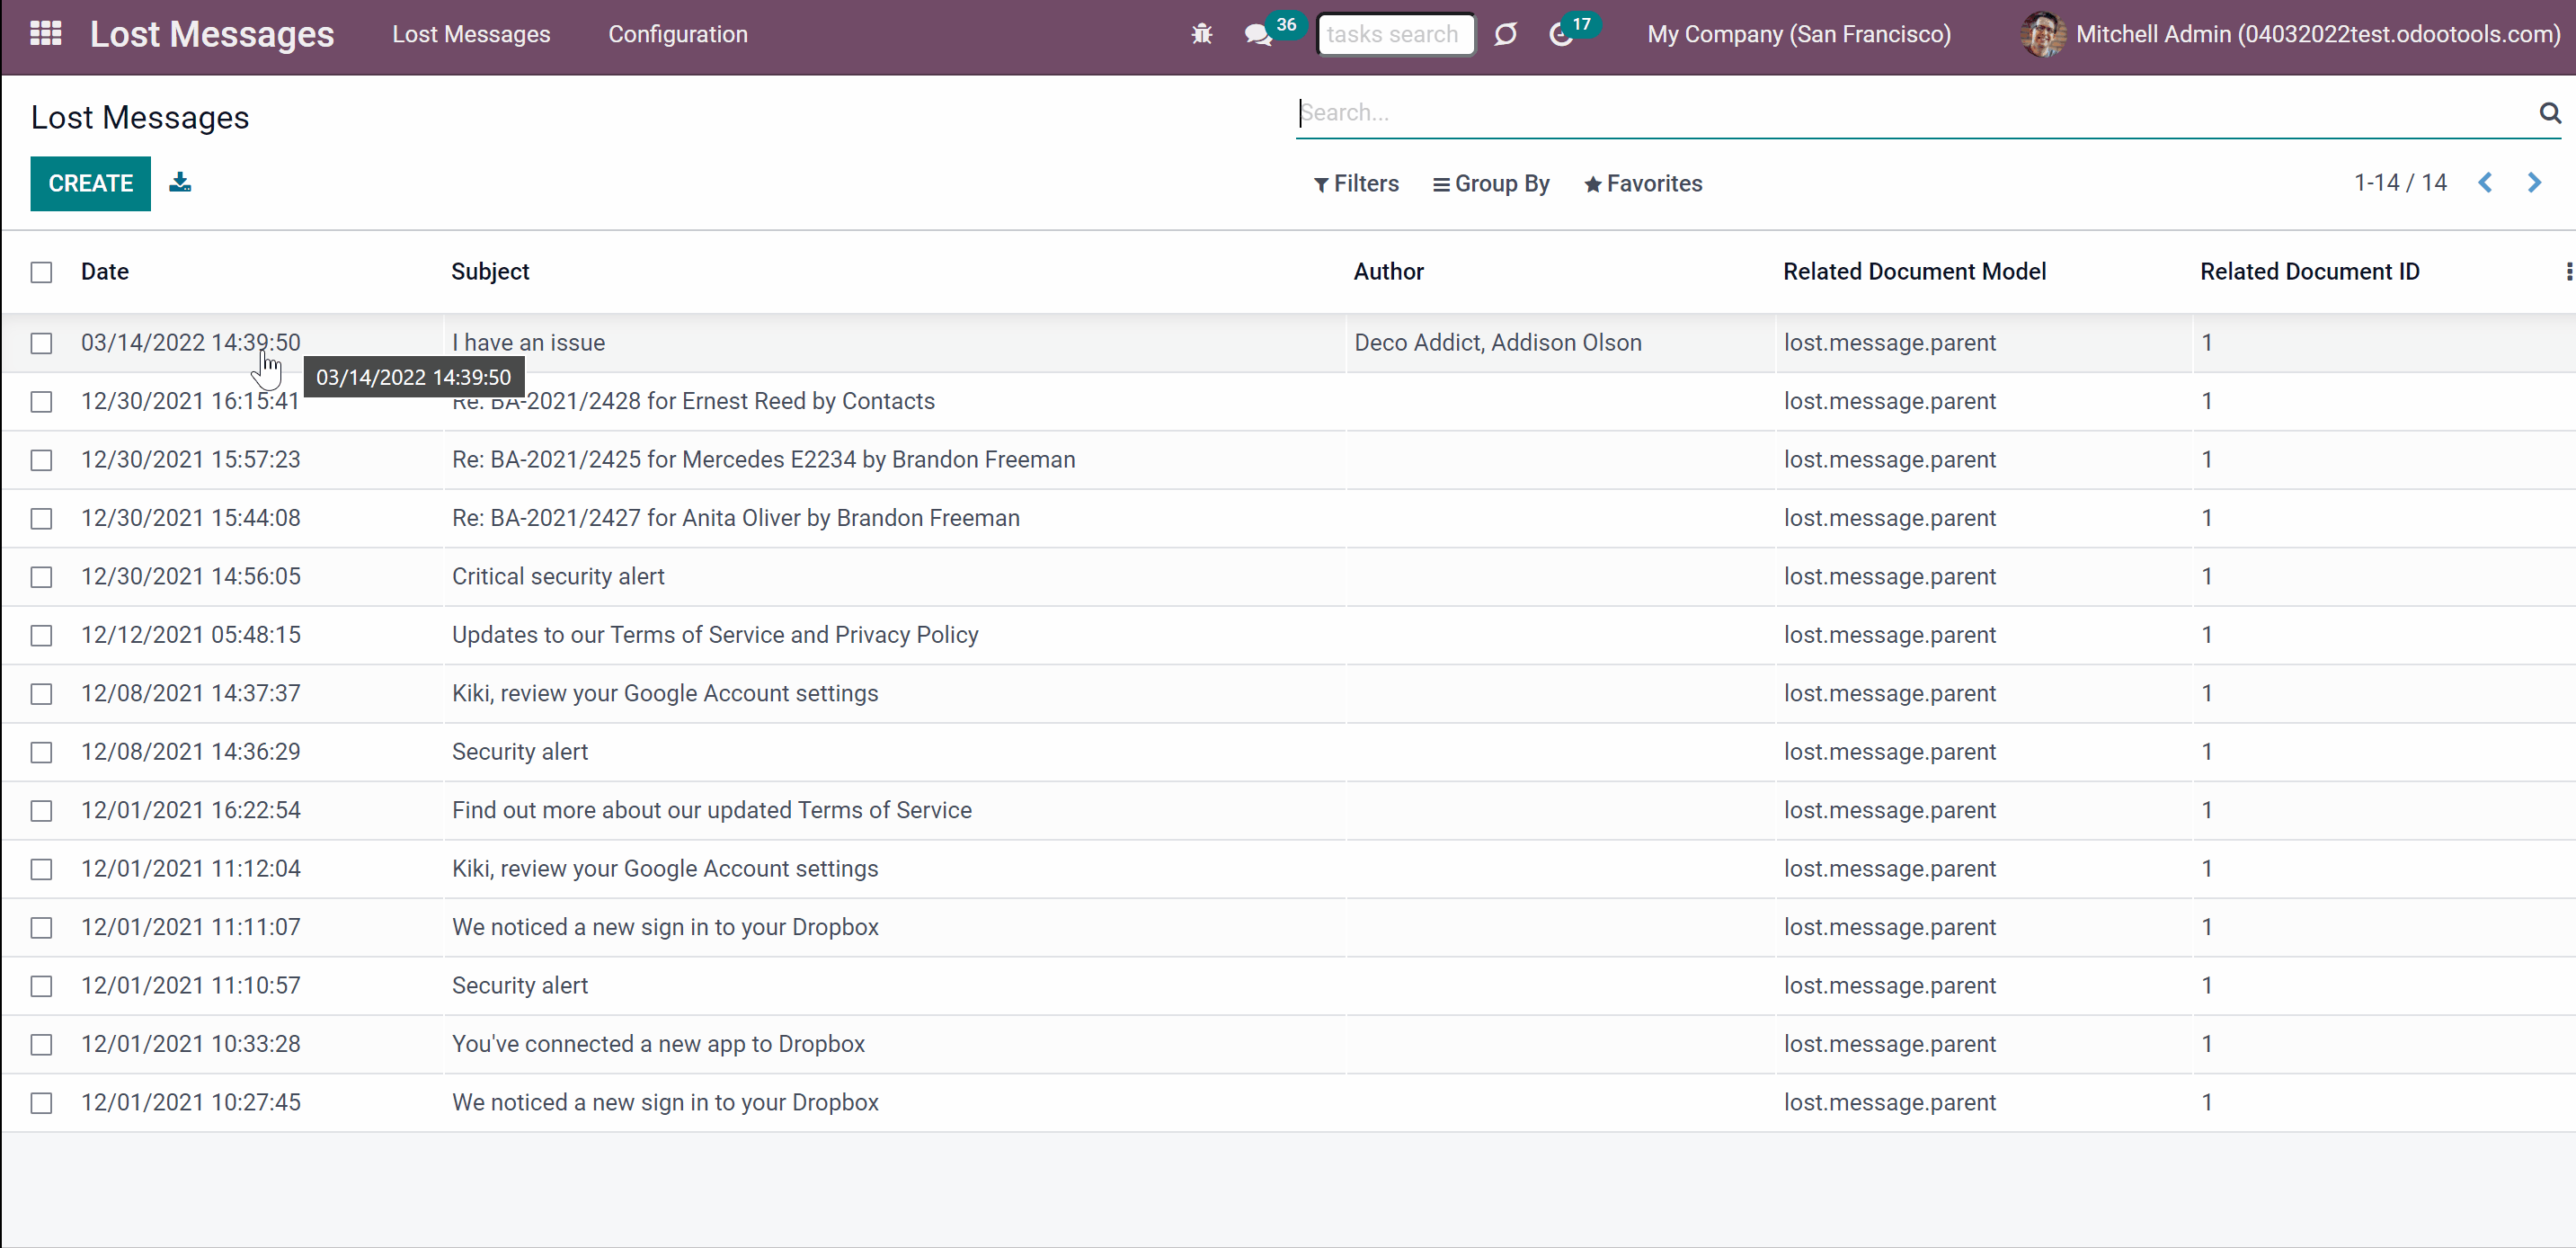
From the list view, you can see:
1. The date and time, when the message was sent
2. The subject of the message, if any
3. The author of the message, if the sender's email is attached to one of the contacts
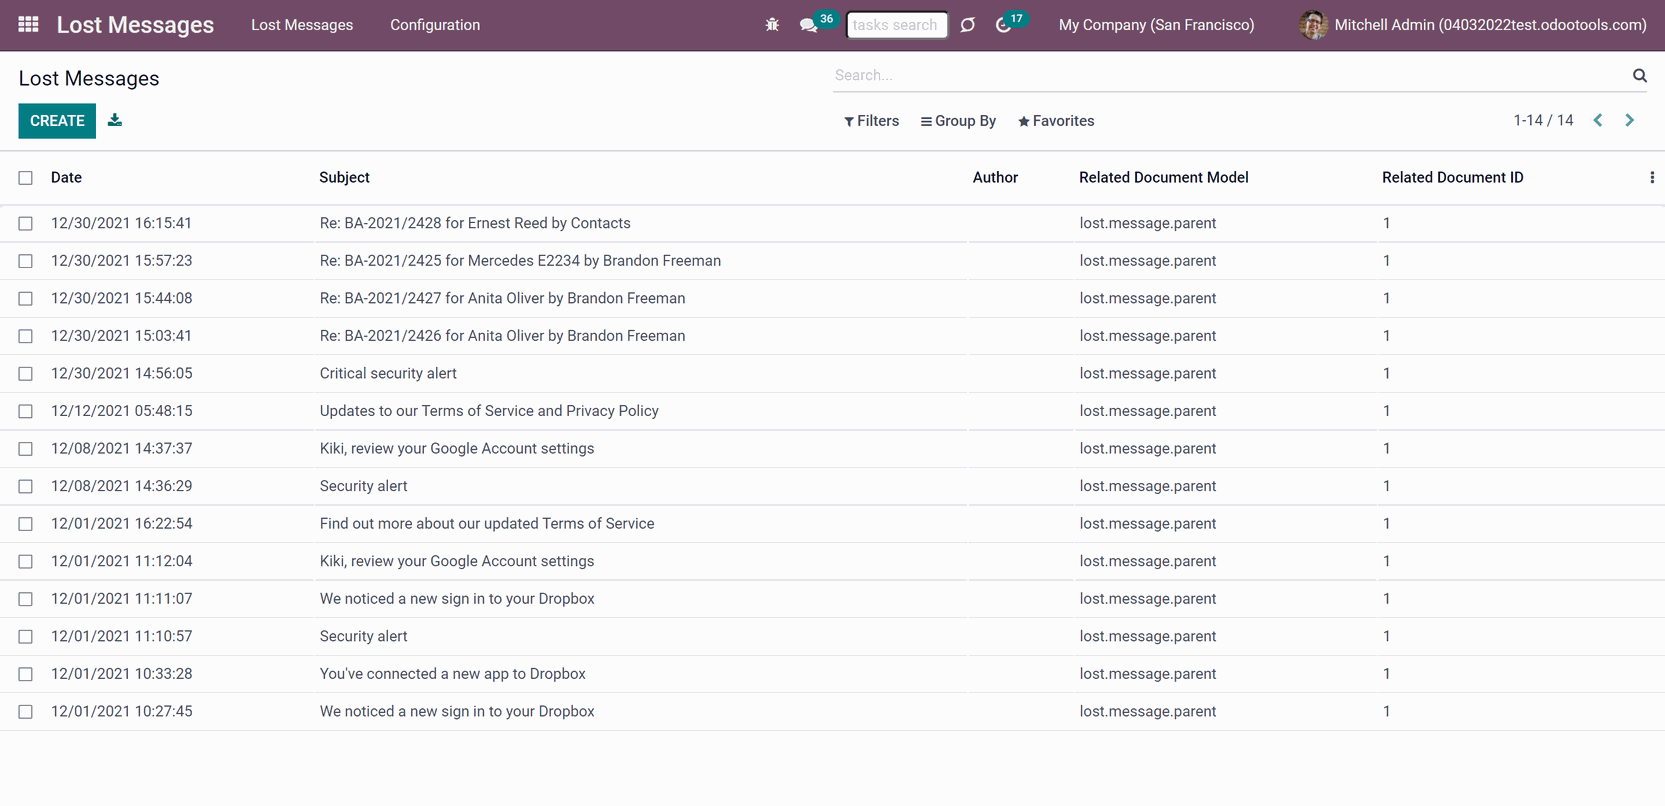
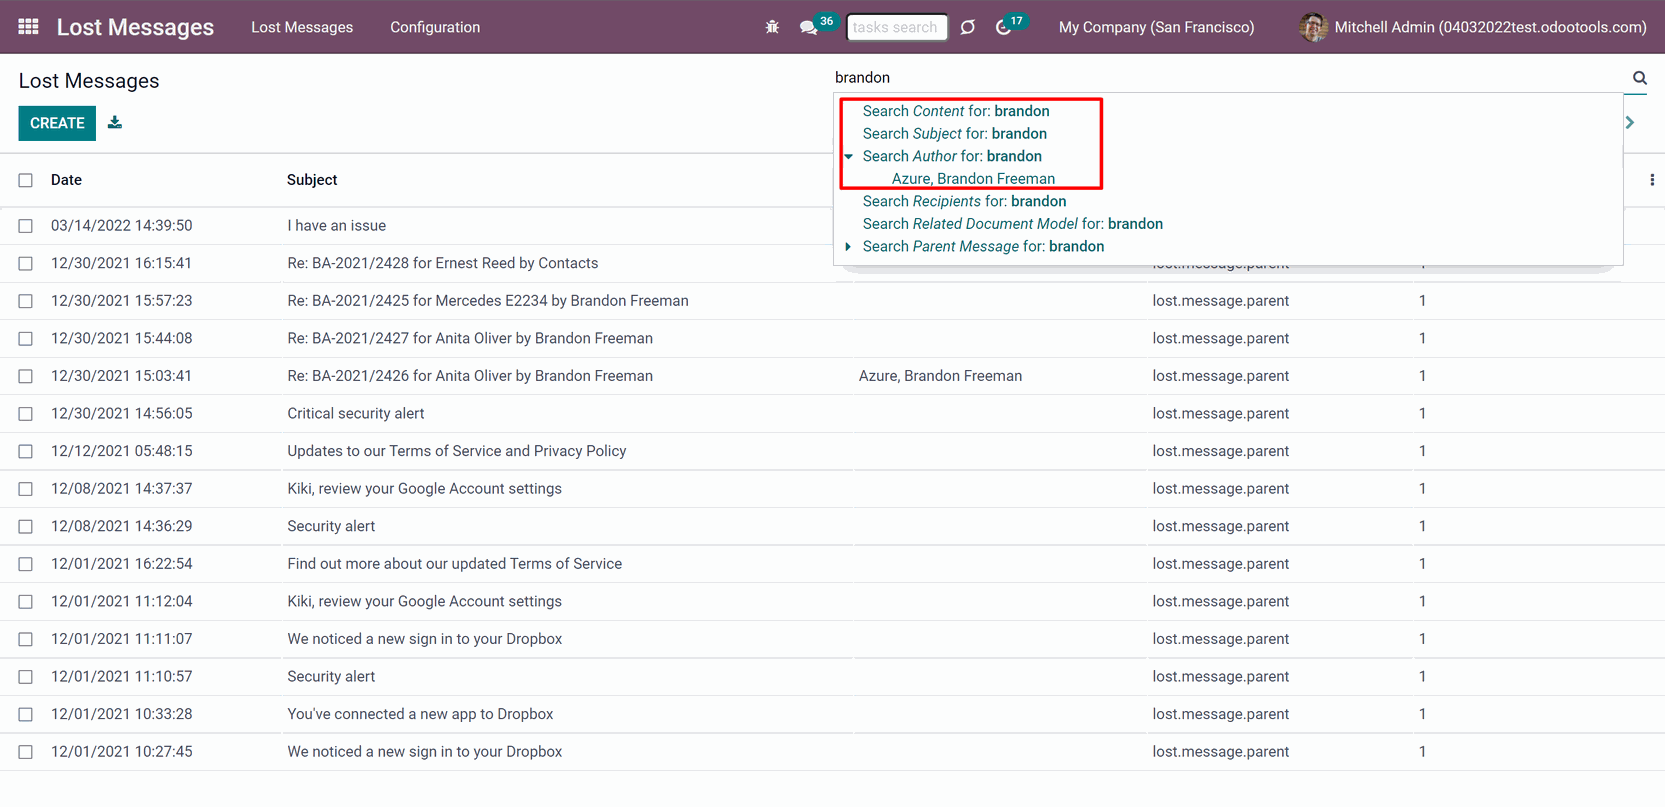
You can use the search bar to navigate through messages by various parameters. The most convenient ones are:
1. Content
2. Subject
3. Author
Just start typing the word and choose the required option.
Routing Lost Messages
The module allows not only to see the lost messages but also to attach them to any object with a thread. You can either route a single message or several messages in a batch. Click on a message to see its body and extra details. This information might help you to decide to which model and object the message relates.
There are several ways to route a message:
1. After opening a message, by clicking the button 'Route Manual'
2. By selecting one or several messages from the list menu and choosing the action 'Route Manual'
To route a single message:
1. Open a message
2. Click 'Route Manual'
3. Define a model and choose a parent object (click on the icon to see the object in a pop-up window). Only allowed models are seen and can be chosen for routing (see Configuring Models for Routing)
4. Click 'Attach Message'
After routing, the message will be added to the thread of a chosen object. As it is no more ‘lost’, it will be removed from the lost messages menu. The message will be stored with the ordinary messages in the technical menu ‘Messages’, where you can find it and reroute it again if necessary.
The app also allows batch addressing through the tree mass action. In such a way, a few messages might be added to the same Odoo document.
To route one, several, or all messages from the app's menu:
1. Select one or several messages by putting a tick in the box by the required message, or choose all by ticking the box above all messages
2. Click Action > Route Manual
3. Define a model and choose a parent object (click on the icon to see the object in a pop-up window). Only allowed models are seen and can be chosen for routing (see Configuring Models for Routing)
4. Click 'Attach Message'
After routing, the message will be added to the thread of a chosen object. As it is no more ‘lost’, it will be removed from the lost messages menu. The message will be stored with the ordinary messages in the technical menu ‘Messages’, where you can find it and reroute it again if necessary.
Sometimes there might be a necessity to delete an object. For example, when its a spam. In this case, you can delete it by selecting the message in the main menu and choosing the action 'Delete'. Or, after opening it, by clicking on the gear above and choosing 'Delete'.
If the message is neither spam nor lost, you can remove the tick 'Unattached message' in the form. In this case, the message will disappear from the lost messages menu, however, it will still be accessible from the technical menu 'Messages'.
Routing Messages
Any message, which is stored in Odoo can be rerouted. It is especially useful in situations when a client has multiple orders and a message got to the wrong object's thread. This opportunity is available only for the system administrators as access to technical menus is required.
You can route the messages right from the technical menu 'Messages', where all the messages are stored.
From here it is also possible to reroute, previously routed messages.
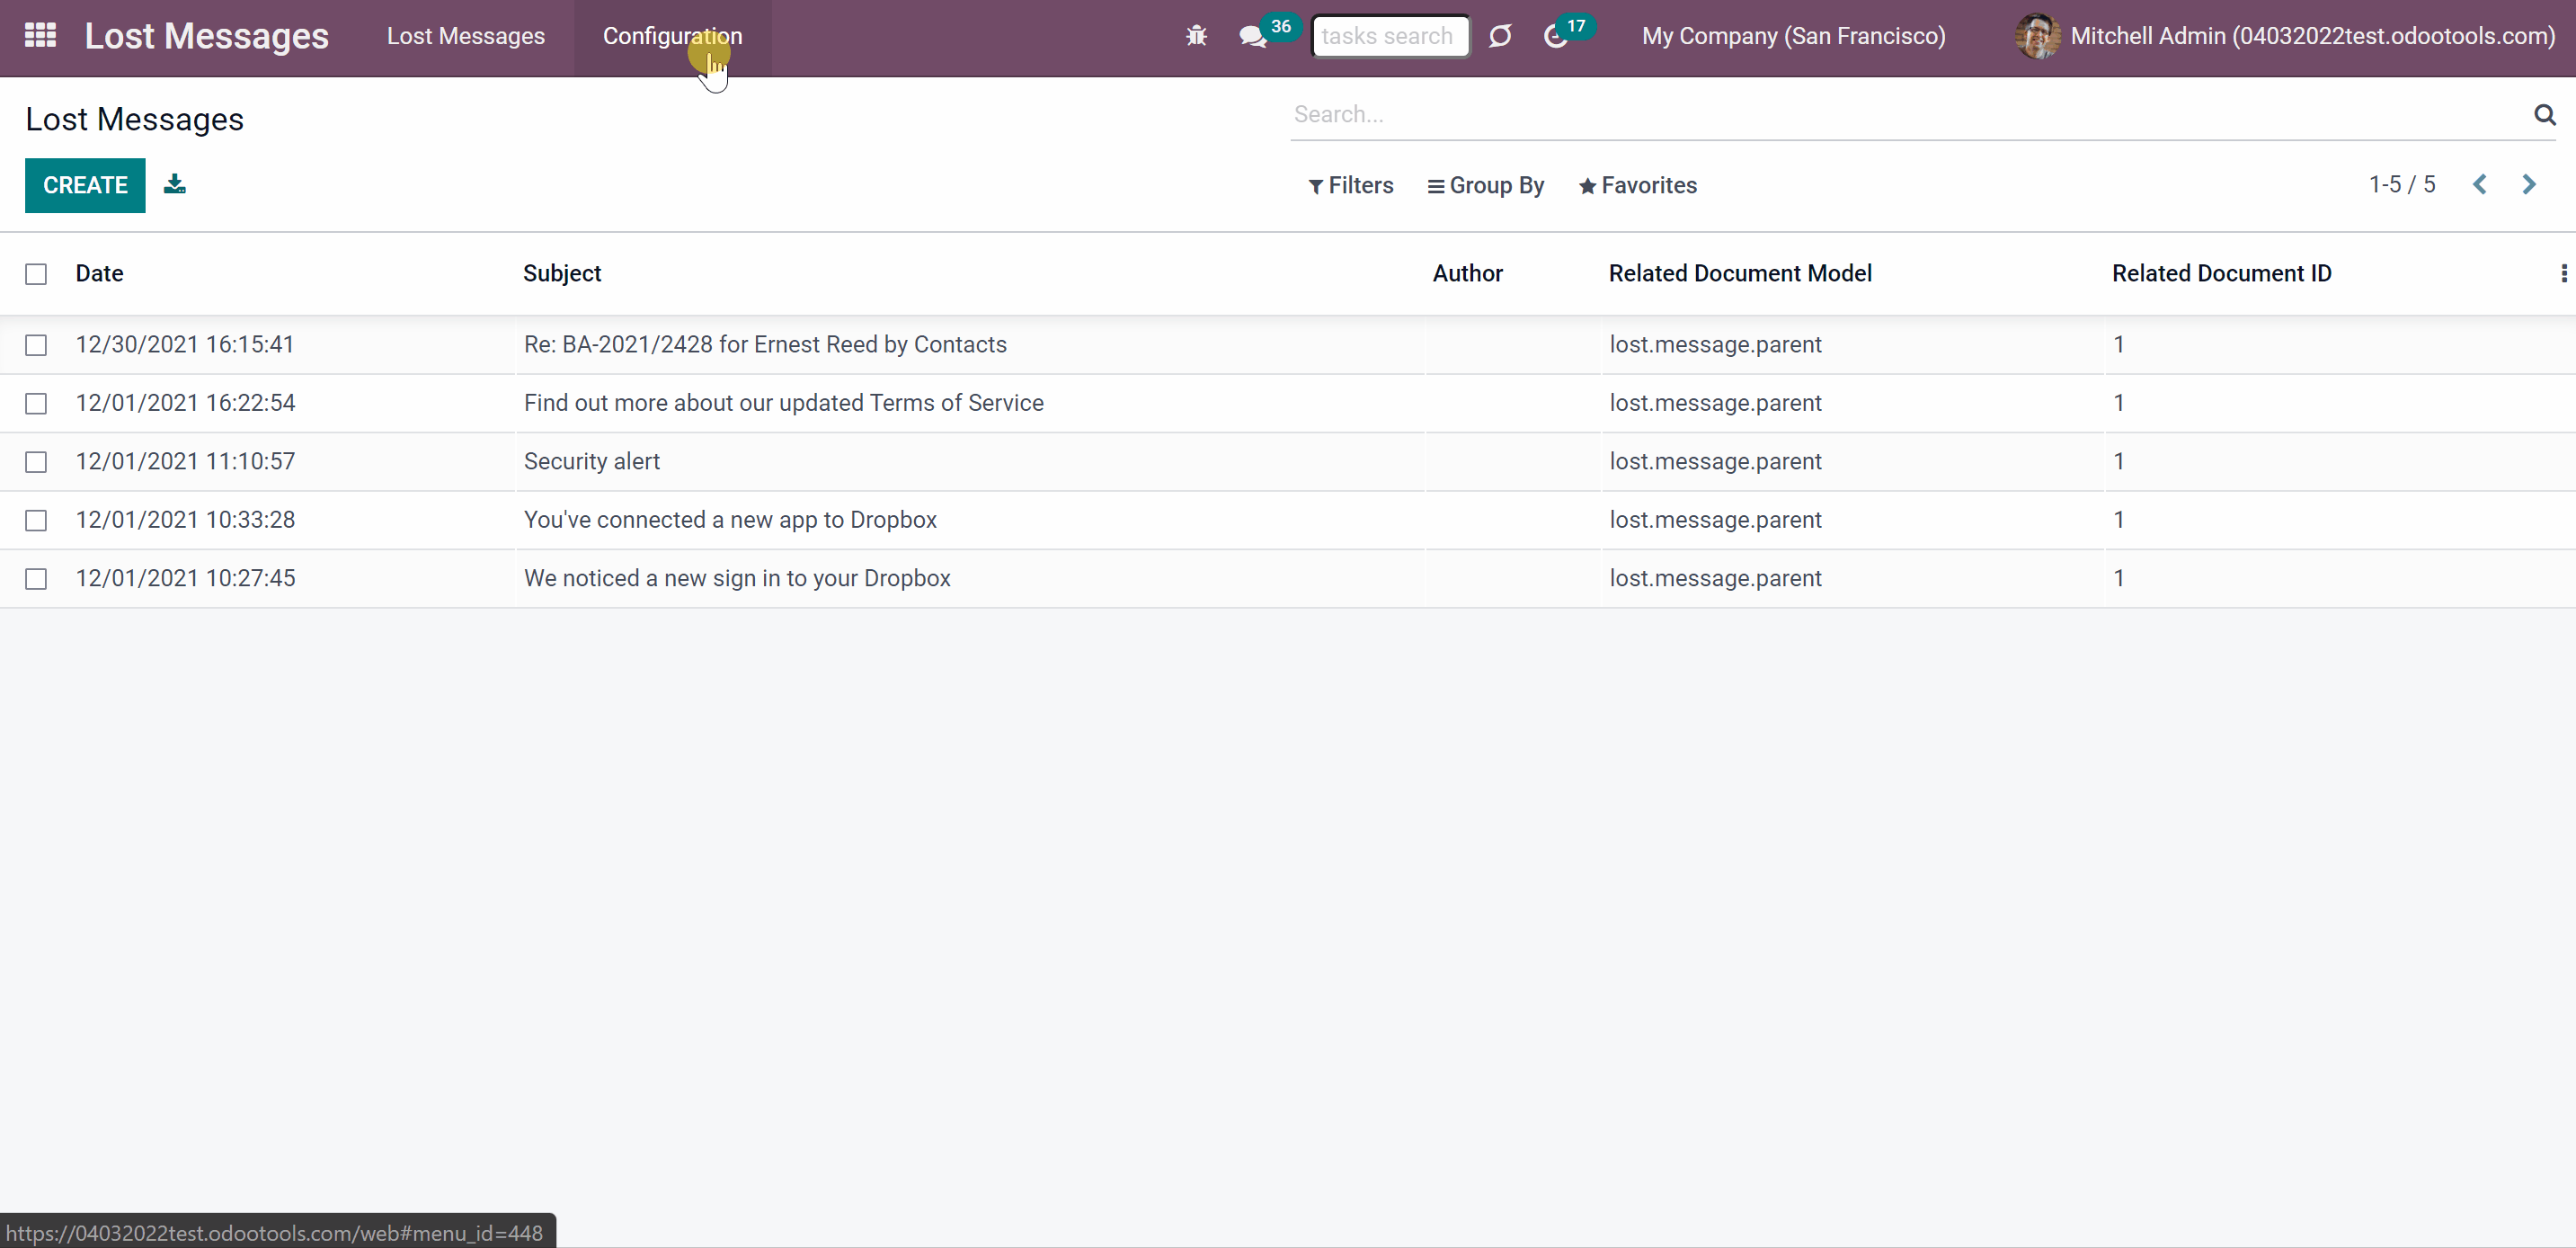
Configuring Models for Routing
Restrict Odoo models to which messages might be routed. For that, open the module's settings by clicking on the tab 'Configuration', find the section 'Lost messages allowed models', define the models, which could be used to route messages to, and click 'Save'.
Let's choose models 'Sales Order' and 'Lead / Opportunity' as 'Lost messages allowed models'. After that, it will be possible to add a lost message only to objects related to the models 'Sales Order' and 'Lead / Opportunity'. For example, you can add a lost message 'Change the delivery time' to the related object 'S00234'. In this case, it is also important to have access to the object 'S00234' (see Access Rights).
Any model which assumes a communication thread, even a custom model, can be chosen as an allowed one for routing.
If the field is left empty, then it will be possible to route a message to any object, which has an Odoo email thread.
About Lost Messages Routing
Lost Messages Routing is an Odoo app, which helps to make sure that no messages are lost. If any email can't be attached, it would be marked as 'lost' and would be added to the special view, from where you will be able to attach them to the required document thread.
You can route both lost messages and any other messages, which are stored in Odoo. Lost messages are kept in the special menu 'Lost Messages'. Ordinary messages are kept in the Odoo technical menu 'Messages'.
The app allows lost messages batch addressing through the tree mass action. In such a way, a few messages might be added to the same Odoo document.
It is possible to restrict Odoo models to which messages might be routed. This way, responsible users will be able to route messages only to allowed-for-routing models.
Configure Odoo to send notifications about lost messages. Choose users that should be warned.
In order to be able to manage the lost messages, the special user group 'Lost Messages Manager' is introduced. This is the only type of user that can see the app and manage lost messages.
Convenient lost message menu
Simple addressing and mass processing
Configurable notifications
Secured administration
Access Rights
In order to be able to manage the lost messages, the special user group 'Lost Messages Manager' is introduced. This is the only type of user that can see the app and manage lost messages. Other users have no access to it. To assign a 'Lost Messages Manager':
1. Go to the General Settings
2. Choose a particular user
3. Click 'Edit'
4. Scroll to the bottom of the page to the section 'Other'
5. Find the field 'Lost Messages Manager' and tick it
6. Click 'Save'
After assigning the user group 'Lost Messages Manager', the special menu 'Lost Messages' will become available for such users. Messages can be routed through it even if the developer mode is off.
Admin can route a message in developer mode through the technical menu even without being a lost messages manager.
It is also important to have rights not only for the model but also for the objects to which a message should be routed. Without access, the object will not be visible at the step of defining a model and object for routing. Thus, without access to the object, a user will not be able to route a message to it.
For example, a lost messages manager received a message from Azure Interior with the request to change the delivery date of the Sales Order 'S0063'. The manager has the access to the model 'Sales Order', so he/she can use it as a Parent Object. However, in the list of available objects, the user will not find the order 'S0063' as another salesperson is responsible for this order.
Lost Messages Notifications
To be able to react quickly, when a message is lost, it is possible to set notifications. Choose users that should be warned and if a message will be marked as 'lost' they will be notified by an email.
To configure notifications:
1. In the menu Lost Messages
2. Click 'Configuration'
3. Tick the box 'Lost messages notification'
4. Choose some users to be notified
The chosen users will be notified about each lost message by email. The email subject will be 'The message is not attached'. In the email's body, users will find the subject of the lost message if any and the body of the message.
You can open the lost message for further actions, by clicking the button 'Click'. After that, you will be redirected to the message form, from which a message can be routed (see Routing Lost Messages).
Managing Lost Messages
A lost message - is a message, which cannot be attached automatically by Odoo to any object's thread. The module Lost Messages Routing finds such messages using the standard Odoo mail fetching scheduled job and marks them as 'lost'. After that, the messages are moved to the special menu 'Lost Messages'.
The module Lost Messages Routing has a convenient interface, which can be accessed in two ways. To open the Lost Messages menu:
1. Click on the app's icon on the main interface (visible only by the user group 'Lost Messages Manager')
2. In developer mode, go to Technical > Lost Messages (available for the system administrator)
As you open the app you see the same interface as used in the technical menu 'Messages'.
From the list view, you can see:
1. The date and time, when the message was sent
2. The subject of the message, if any
3. The author of the message, if the sender's email is attached to one of the contacts
You can use the search bar to navigate through messages by various parameters. The most convenient ones are:
1. Content
2. Subject
3. Author
Just start typing the word and choose the required option.
Routing Lost Messages
The module allows not only to see the lost messages but also to attach them to any object with a thread. You can either route a single message or several messages in a batch. Click on a message to see its body and extra details. This information might help you to decide to which model and object the message relates.
There are several ways to route a message:
1. After opening a message, by clicking the button 'Route Manual'
2. By selecting one or several messages from the list menu and choosing the action 'Route Manual'
To route a single message:
1. Open a message
2. Click 'Route Manual'
3. Define a model and choose a parent object (click on the icon to see the object in a pop-up window). Only allowed models are seen and can be chosen for routing (see Configuring Models for Routing)
4. Click 'Attach Message'
After routing, the message will be added to the thread of a chosen object. As it is no more ‘lost’, it will be removed from the lost messages menu. The message will be stored with the ordinary messages in the technical menu ‘Messages’, where you can find it and reroute it again if necessary.
The app also allows batch addressing through the tree mass action. In such a way, a few messages might be added to the same Odoo document.
To route one, several, or all messages from the app's menu:
1. Select one or several messages by putting a tick in the box by the required message, or choose all by ticking the box above all messages
2. Click Action > Route Manual
3. Define a model and choose a parent object (click on the icon to see the object in a pop-up window). Only allowed models are seen and can be chosen for routing (see Configuring Models for Routing)
4. Click 'Attach Message'
After routing, the message will be added to the thread of a chosen object. As it is no more ‘lost’, it will be removed from the lost messages menu. The message will be stored with the ordinary messages in the technical menu ‘Messages’, where you can find it and reroute it again if necessary.
Sometimes there might be a necessity to delete an object. For example, when its a spam. In this case, you can delete it by selecting the message in the main menu and choosing the action 'Delete'. Or, after opening it, by clicking on the gear above and choosing 'Delete'.
If the message is neither spam nor lost, you can remove the tick 'Unattached message' in the form. In this case, the message will disappear from the lost messages menu, however, it will still be accessible from the technical menu 'Messages'.
Routing Messages
Any message, which is stored in Odoo can be rerouted. It is especially useful in situations when a client has multiple orders and a message got to the wrong object's thread. This opportunity is available only for the system administrators as access to technical menus is required.
You can route the messages right from the technical menu 'Messages', where all the messages are stored.
From here it is also possible to reroute, previously routed messages.
Configuring Models for Routing
Restrict Odoo models to which messages might be routed. For that, open the module's settings by clicking on the tab 'Configuration', find the section 'Lost messages allowed models', define the models, which could be used to route messages to, and click 'Save'.
Let's choose models 'Sales Order' and 'Lead / Opportunity' as 'Lost messages allowed models'. After that, it will be possible to add a lost message only to objects related to the models 'Sales Order' and 'Lead / Opportunity'. For example, you can add a lost message 'Change the delivery time' to the related object 'S00234'. In this case, it is also important to have access to the object 'S00234' (see Access Rights).
Any model which assumes a communication thread, even a custom model, can be chosen as an allowed one for routing.
If the field is left empty, then it will be possible to route a message to any object, which has an Odoo email thread.