About Messages: Schedule Send Option
Messages: Schedule Send Option is an Odoo app that allows scheduling Odoo messages to be delivered at a later time. This way, you can plan a message and choose the time when it will be sent. When sent, scheduled emails become normal Odoo messages linked to a target object thread. Recipients will never know that a message was written in advance and has not been just sent.
It is possible to schedule messages for any Odoo documents that have a chatter (e.g. sale orders, opportunities, contacts, RFQs, etc.), for any recipients, and any date and any time in the Future. The process is pretty much the same as you might be used to with your favorite email clients.
Add postponed messages in a similar way you compose standard Odoo mails. Optionally, define the default delay in hours on the configuration page, so a planned time is pre-filled when a user schedules a new message.
Whenever you want, before the actual delivery time, update the subject, body, attachments, and recipients of the message, cancel sending, or re-plan delivery to a more appropriate moment. If necessary, force scheduled messages to be sent immediately.
All scheduled messages are also combined under the menu Settings > Technical > Discuss > Schedule Send (the developer mode and the right 'Scheduled Send Option: Administrators' are needed)
Delayed messages are checked regularly and sent automatically based on the Odoo cron job.
Plan Delayed Mails for any Documents
Cancel and Reschedule Planned Messages
Flexible and Comfortable Planning
Auto and Secure Scheduling
How to Schedule a Message
It is possible to schedule messages for any Odoo documents that have a chatter. For example, send scheduled messages to the followers of a sale order, purchase order, opportunity, contact, etc.
The scheduled messages are sent in a similar way you compose standard Odoo emails. To schedule a message:
1. Open any object with a messages thread, for example, a sale order
2. Click on the button 'Schedule message'
3. Write your message in the ordinary way
4. Find the field 'Schedule Send' and choose the date and time of sending. You can use the arrows to switch between dates and times, or you can click on a date/time and choose the required option.
In case, the default delay is configured, the time of sending will be automatically set, but you will still be able to change it, if necessary.
Even after scheduling a message, the time can be edited, or the message can be immediately force sent (see Control Over Messages).
5. Then, click 'Schedule'.
After that, the message will be added to the section 'Scheduled messages'. There, you can control your scheduled messages, edit, cancel, and force send them (see Control Over Messages).
It is possible to define the default delay in hours on the configuration page so that a planned time is pre-filled when a user schedules a new message. This way, you can save time upon planning a message and give some default time for the senders to change their reply.
To send the default delay:
1. Go to General Settings and find the section 'Discuss'
2. In the field 'Send Schedule Default Delay' define the delay in hours
3. Click 'Save'.
For example, define the default delay as 2 hours. Then, when a user clicks the button 'Schedule message', the sending time will be set automatically as the current user system's time + the default time (2 hours) and the user will be able to continue ordinarily composing the email.
Even when the default delay time is set, it is still possible to change the sending date and time, if necessary. Just click on the field and introduce the changes.
Control Over Messages
You can see and manage the list of scheduled messages, if any, above the related messages thread. The section is visible only if there is at least one scheduled message related to the object. By default, the list of scheduled messages is collapsed, not to distract the users, but you can see the number of scheduled messages by the related button.
Click on the button 'Scheduled messages' to see the messages. After each scheduled message you will find three buttons: send now, edit, and cancel.
It is possible to update scheduled messages any time before actual delivery. For that, click on the button 'Edit' and introduce the changes. You can edit the message's subject, body, attachments, and recipients. It is also possible to change the date and time to re-plan the delivery to a more appropriate moment.
Whenever you want, you can cancel sending. It is particularly useful if you notice that there was a mistake in the message, or when the information is no longer acute. To stop the message from sending, click the button 'Cancel' before the sending time. After that, the message will be removed from the list of the scheduled messages and it will be impossible to recover it.
Optionally, force scheduled messages to be sent immediately. For that, just click on the button 'Send now'. This way, you will be able to send a message earlier than the scheduled date and time, without editing it.
After sending, scheduled emails become normal Odoo messages linked to a target object thread. Recipients will never know that a message was written in advance and has not been just sent.
To add, edit, or manage a scheduled message, a user should have the right to edit a linked object. If a user has read rights to the target Odoo document, he/she will be able only to see the list of scheduled emails related to the object (see Access Rights).

Admin List of Scheduled Emails
The module also adds a separate menu, where all scheduled messages are combined. This way, it is possible to see and manage all scheduled messages at once from a single interface. For that:
1. Turn on the developer mode
2. Go to General Settings
3. Click the button Technical in the systray
4. Find the menu Discuss > Schedule Send.
In this menu, you will see the list of all scheduled messages. From the columns, you can find out the date and time when the message should be sent, the subject, the author, and the related model and model's ID of the message.
Click on the message to open the messages card and see its' body. In the top right corner, you will find three buttons: edit, send now, and open document.
Click on the 'Edit' button to change the details of the message. You can edit the message's subject, body, attachments, and recipients. It is also possible to change the date and time to re-plan the delivery to a more appropriate moment.
Click on the button 'Send now' to send the message immediately. After that, the message will be removed from the menu. It will become an ordinary message in the related object's thread.
Click on the button 'Open Document' to open the source document of the related scheduled message. It is particularly useful if you want to check the details of the object, for example, of the related sale order as there will be no need to search for it among other records.
You can also process several scheduled messages at once. For that, in the list of scheduled messages, put a tick in the box by one, or several messages. Or tick the box above to select all of them. Then, click on the button 'Action' above and choose one of the actions. This way, you can delete, or force send all the selected messages at once.
In order to see the menu, a user should have the right 'Scheduled Send Option: Administrators' assigned (see Access Rights).
Auto Sending
Scheduled messages are checked regularly and sent automatically based on the Odoo cron job 'Send scheduled messages'. All pending messages that are 'in the past' are considered for sending.
By default, the checks and sending take place every 5 minutes, but it is possible to change the frequency. For that:
1. Turn on the developer mode
2. Go to General Settings
3. Click on the button 'Technical' in the systray and choose the option 'Scheduled Actions'
4. There, find the scheduled job 'Send scheduled messages'
5. In the field 'Execute every' set the number and the type of the period.
The frequency of sending scheduled messages may influence the time when the message is sent. This way, the sending may take place later, than it was planned upon composing the message. For example, if the frequency of sending scheduled messages is set as 10 minutes (so, every 10 minutes the messages are checked and sent), and there is a message that is scheduled to be sent at 14:39 and a message that is scheduled to be sent at 14:41, then the first message will be sent at 14:40 (with 1-minute difference) and the second one at 14:50 (with 9-minute difference).
Messages that are 'In the past' but have not yet been sent are marked in the chat as 'Awaiting delivery'. Such messages can be edited or forced to be sent. But only until they are processed by the scheduled job. Otherwise, the list of messages will be updated to the current one when the button is clicked.

When sent, scheduled messages become normal Odoo messages linked to a target object thread. The author of the message is the sender, that composed it. There are no notes/elements, which specify that the message was scheduled. Therefore, recipients will never know that a message was written in advance and has not been just sent.

Access Rights
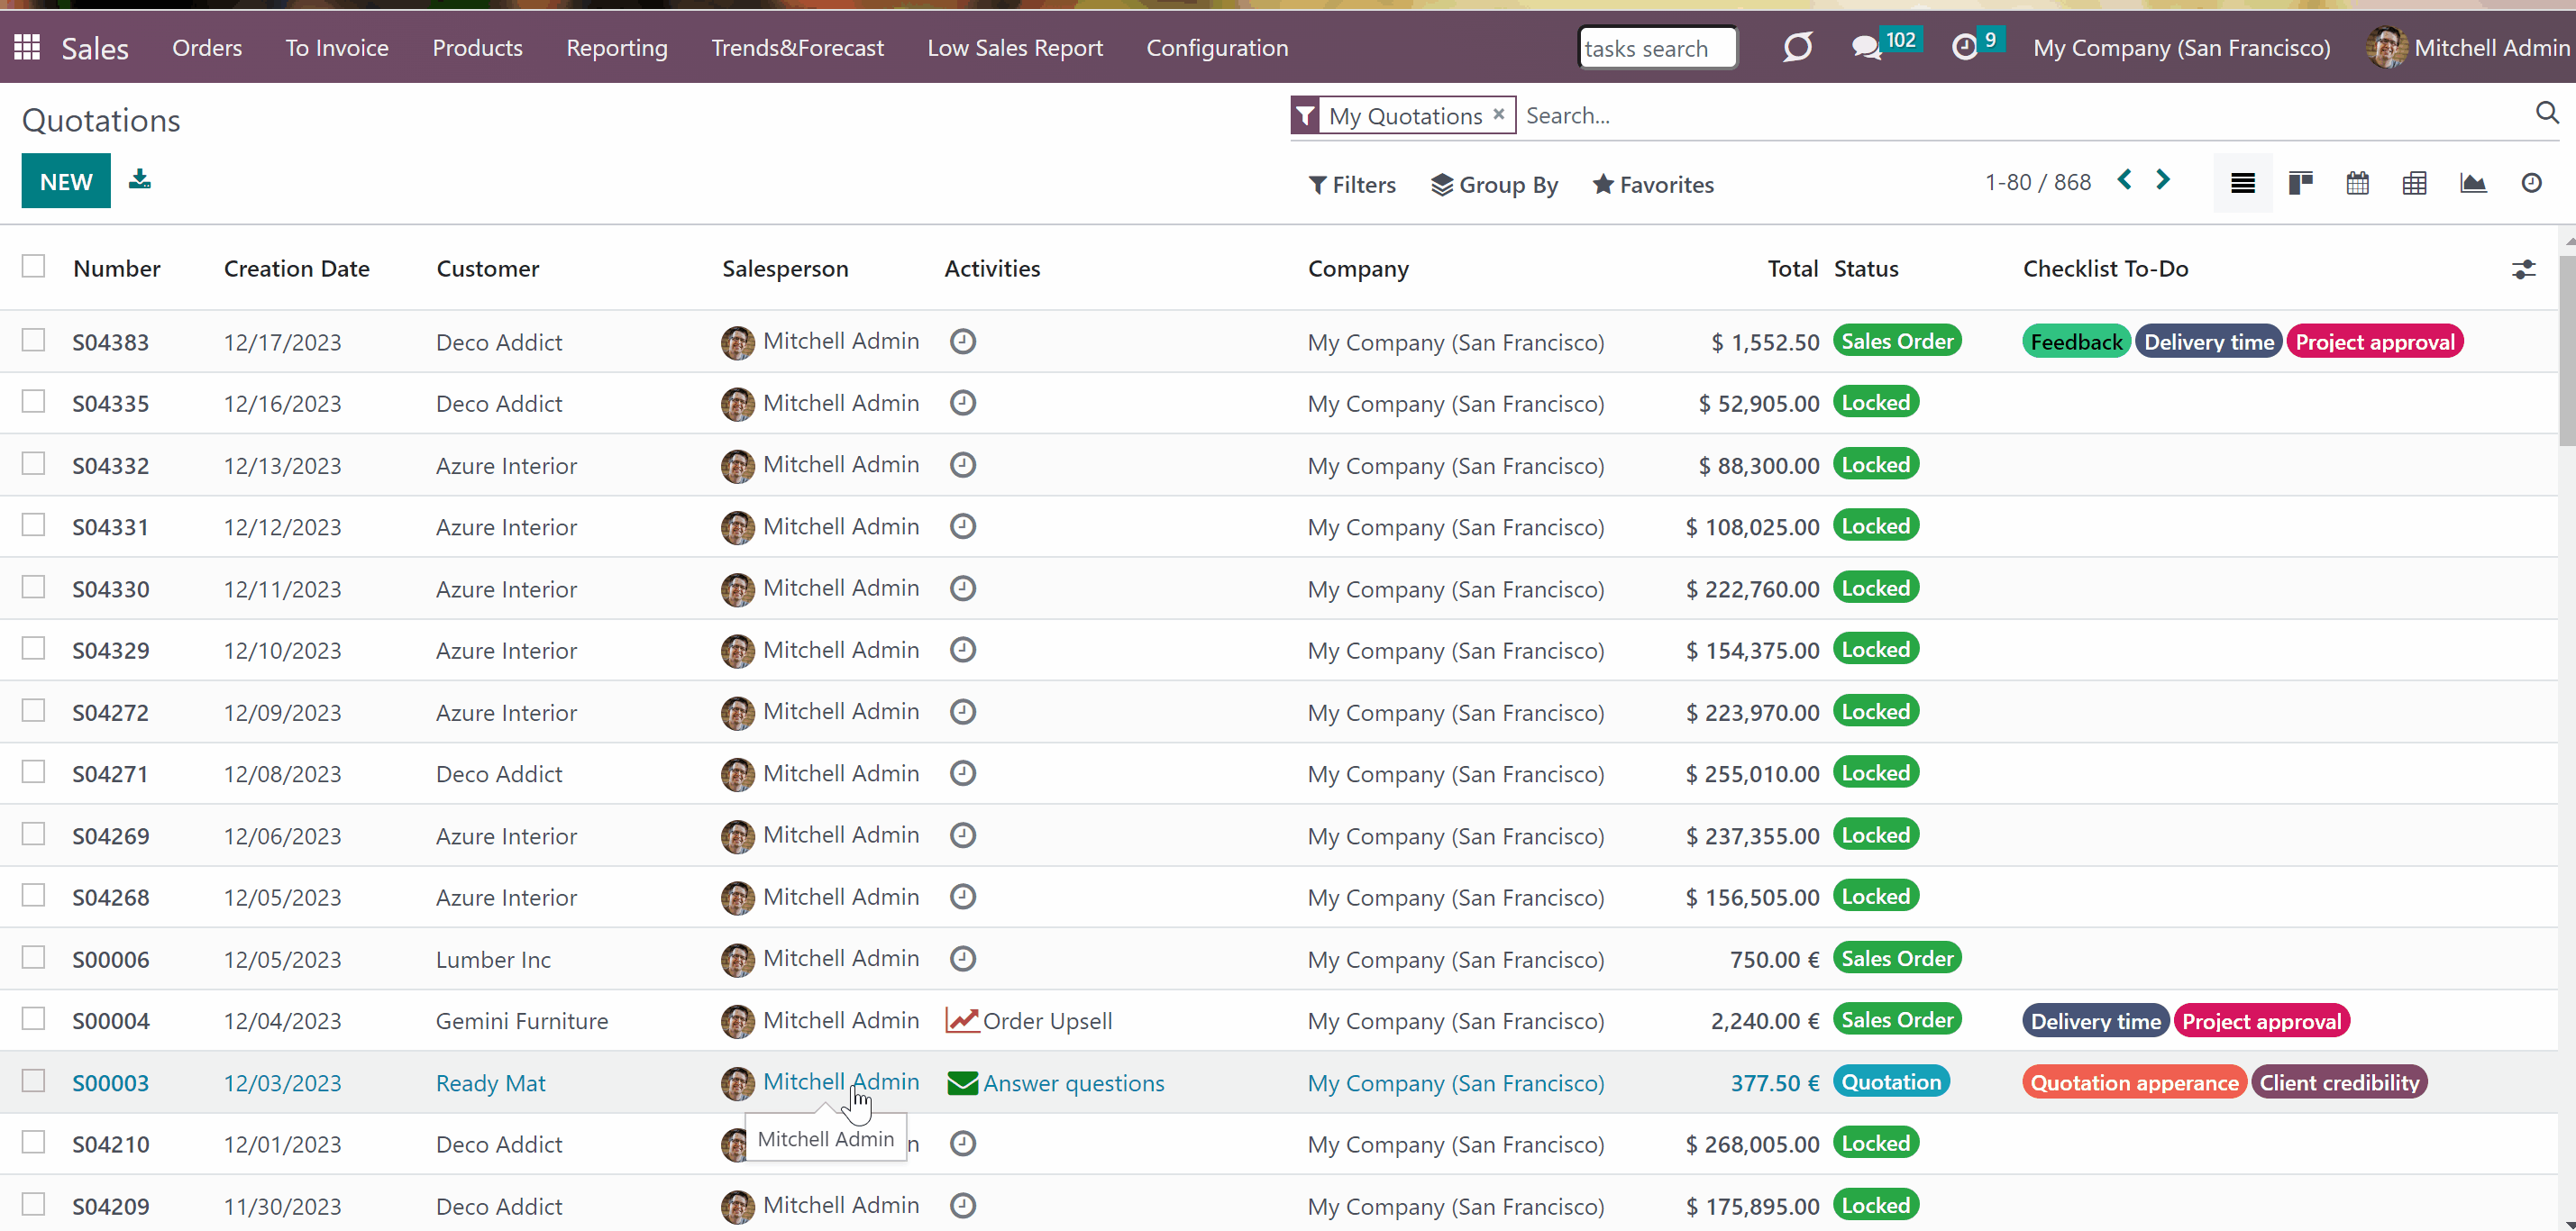
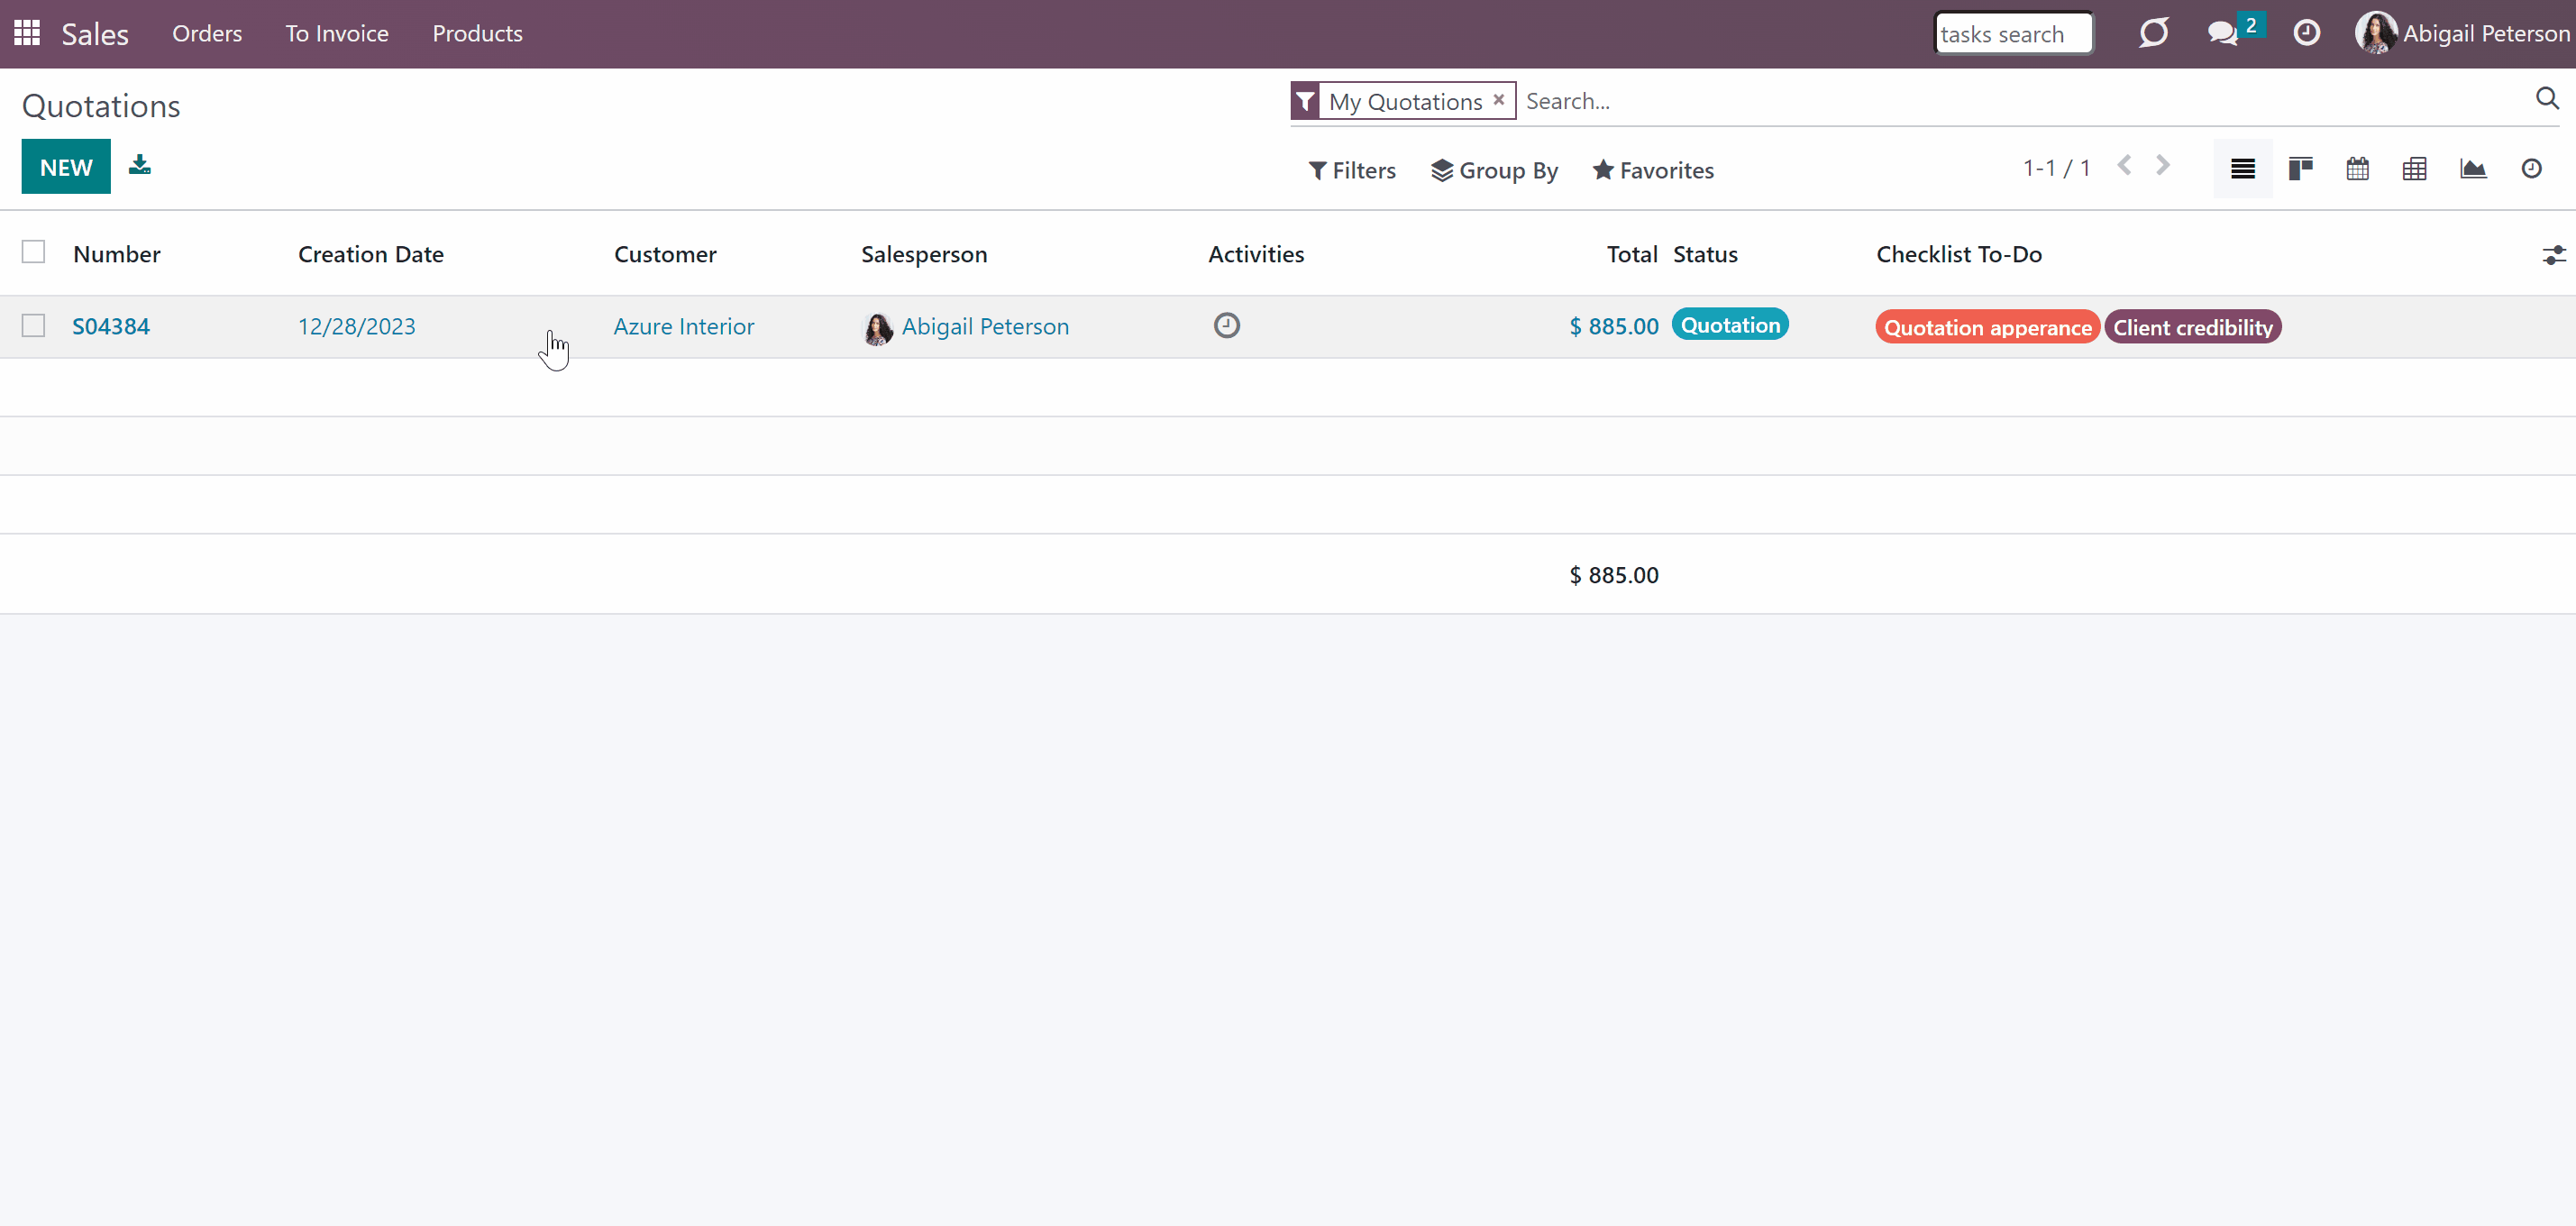
To schedule a message, a user should have the right to edit a linked object. For example, if Abigail Peterson has the right to edit the sales order S04384, then she also has the right to schedule a message.
Such a user will also be able to manage all related to the object scheduled messages, even the ones that are written by other users. For example, if Mitchell Admin scheduled a message in Abigail Peterson's sale order she can see and manage it.
If a user has read rights to the target Odoo document, he/she can only see the list of scheduled emails related to the object. For example, Abigail Peterson has read rights to the article 'Odoo Proprietary License v1.0', so she can see the list of scheduled messages, but cannot edit them and cannot schedule her message.
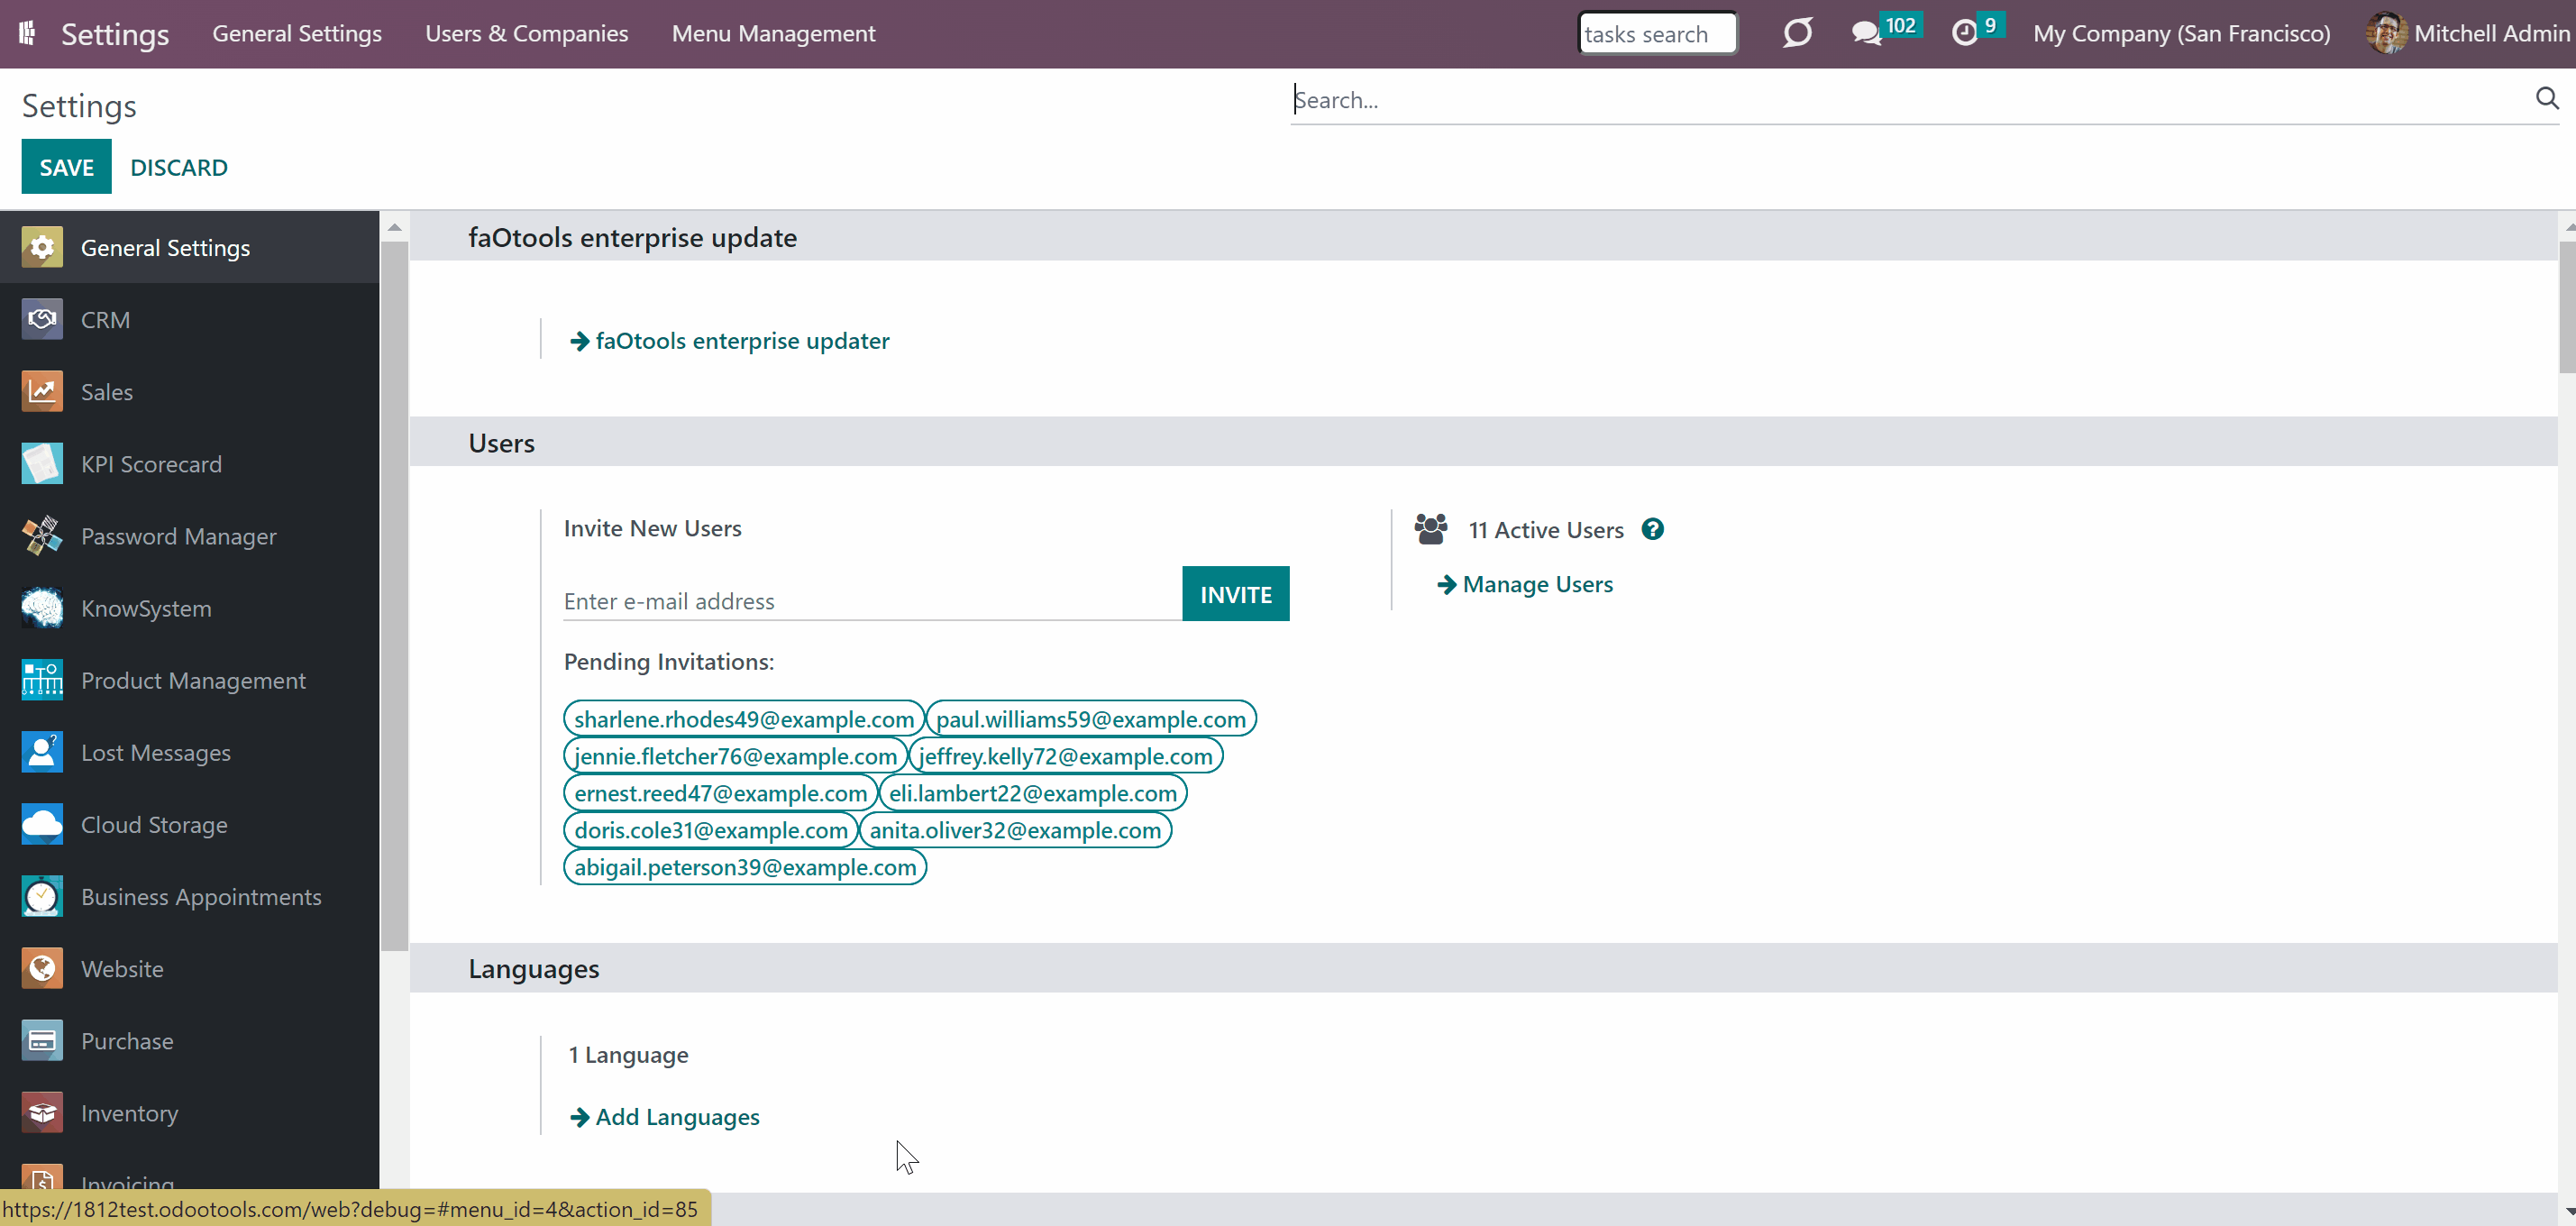
To see and manage all scheduled messages through the special technical menu, a user should have the right 'Scheduled Send Option: Administrators' assigned. To assign the role to a user:
1. Go to General Settings
2. Click 'Manage Users' and choose a user
3. Find the field 'Schedule Send Option' and choose the option 'Administrators'.

About Messages: Schedule Send Option
Messages: Schedule Send Option is an Odoo app that allows scheduling Odoo messages to be delivered at a later time. This way, you can plan a message and choose the time when it will be sent. When sent, scheduled emails become normal Odoo messages linked to a target object thread. Recipients will never know that a message was written in advance and has not been just sent.
It is possible to schedule messages for any Odoo documents that have a chatter (e.g. sale orders, opportunities, contacts, RFQs, etc.), for any recipients, and any date and any time in the Future. The process is pretty much the same as you might be used to with your favorite email clients.
Add postponed messages in a similar way you compose standard Odoo mails. Optionally, define the default delay in hours on the configuration page, so a planned time is pre-filled when a user schedules a new message.
Whenever you want, before the actual delivery time, update the subject, body, attachments, and recipients of the message, cancel sending, or re-plan delivery to a more appropriate moment. If necessary, force scheduled messages to be sent immediately.
All scheduled messages are also combined under the menu Settings > Technical > Discuss > Schedule Send (the developer mode and the right 'Scheduled Send Option: Administrators' are needed)
Delayed messages are checked regularly and sent automatically based on the Odoo cron job.
Plan Delayed Mails for any Documents
Cancel and Reschedule Planned Messages
Flexible and Comfortable Planning
Auto and Secure Scheduling
How to Schedule a Message
It is possible to schedule messages for any Odoo documents that have a chatter. For example, send scheduled messages to the followers of a sale order, purchase order, opportunity, contact, etc.
The scheduled messages are sent in a similar way you compose standard Odoo emails. To schedule a message:
1. Open any object with a messages thread, for example, a sale order
2. Click on the button 'Schedule message'
3. Write your message in the ordinary way
4. Find the field 'Schedule Send' and choose the date and time of sending. You can use the arrows to switch between dates and times, or you can click on a date/time and choose the required option.
In case, the default delay is configured, the time of sending will be automatically set, but you will still be able to change it, if necessary.
Even after scheduling a message, the time can be edited, or the message can be immediately force sent (see Control Over Messages).
5. Then, click 'Schedule'.
After that, the message will be added to the section 'Scheduled messages'. There, you can control your scheduled messages, edit, cancel, and force send them (see Control Over Messages).
It is possible to define the default delay in hours on the configuration page so that a planned time is pre-filled when a user schedules a new message. This way, you can save time upon planning a message and give some default time for the senders to change their reply.
To send the default delay:
1. Go to General Settings and find the section 'Discuss'
2. In the field 'Send Schedule Default Delay' define the delay in hours
3. Click 'Save'.
For example, define the default delay as 2 hours. Then, when a user clicks the button 'Schedule message', the sending time will be set automatically as the current user system's time + the default time (2 hours) and the user will be able to continue ordinarily composing the email.
Even when the default delay time is set, it is still possible to change the sending date and time, if necessary. Just click on the field and introduce the changes.
Control Over Messages
You can see and manage the list of scheduled messages, if any, above the related messages thread. The section is visible only if there is at least one scheduled message related to the object. By default, the list of scheduled messages is collapsed, not to distract the users, but you can see the number of scheduled messages by the related button.
Click on the button 'Scheduled messages' to see the messages. After each scheduled message you will find three buttons: send now, edit, and cancel.
It is possible to update scheduled messages any time before actual delivery. For that, click on the button 'Edit' and introduce the changes. You can edit the message's subject, body, attachments, and recipients. It is also possible to change the date and time to re-plan the delivery to a more appropriate moment.
Whenever you want, you can cancel sending. It is particularly useful if you notice that there was a mistake in the message, or when the information is no longer acute. To stop the message from sending, click the button 'Cancel' before the sending time. After that, the message will be removed from the list of the scheduled messages and it will be impossible to recover it.
Optionally, force scheduled messages to be sent immediately. For that, just click on the button 'Send now'. This way, you will be able to send a message earlier than the scheduled date and time, without editing it.
After sending, scheduled emails become normal Odoo messages linked to a target object thread. Recipients will never know that a message was written in advance and has not been just sent.
To add, edit, or manage a scheduled message, a user should have the right to edit a linked object. If a user has read rights to the target Odoo document, he/she will be able only to see the list of scheduled emails related to the object (see Access Rights).
Admin List of Scheduled Emails
The module also adds a separate menu, where all scheduled messages are combined. This way, it is possible to see and manage all scheduled messages at once from a single interface. For that:
1. Turn on the developer mode
2. Go to General Settings
3. Click the button Technical in the systray
4. Find the menu Discuss > Schedule Send.
In this menu, you will see the list of all scheduled messages. From the columns, you can find out the date and time when the message should be sent, the subject, the author, and the related model and model's ID of the message.
Click on the message to open the messages card and see its' body. In the top right corner, you will find three buttons: edit, send now, and open document.
Click on the 'Edit' button to change the details of the message. You can edit the message's subject, body, attachments, and recipients. It is also possible to change the date and time to re-plan the delivery to a more appropriate moment.
Click on the button 'Send now' to send the message immediately. After that, the message will be removed from the menu. It will become an ordinary message in the related object's thread.
Click on the button 'Open Document' to open the source document of the related scheduled message. It is particularly useful if you want to check the details of the object, for example, of the related sale order as there will be no need to search for it among other records.
You can also process several scheduled messages at once. For that, in the list of scheduled messages, put a tick in the box by one, or several messages. Or tick the box above to select all of them. Then, click on the button 'Action' above and choose one of the actions. This way, you can delete, or force send all the selected messages at once.
In order to see the menu, a user should have the right 'Scheduled Send Option: Administrators' assigned (see Access Rights).
Auto Sending
Scheduled messages are checked regularly and sent automatically based on the Odoo cron job 'Send scheduled messages'. All pending messages that are 'in the past' are considered for sending.
By default, the checks and sending take place every 5 minutes, but it is possible to change the frequency. For that:
1. Turn on the developer mode
2. Go to General Settings
3. Click on the button 'Technical' in the systray and choose the option 'Scheduled Actions'
4. There, find the scheduled job 'Send scheduled messages'
5. In the field 'Execute every' set the number and the type of the period.
The frequency of sending scheduled messages may influence the time when the message is sent. This way, the sending may take place later, than it was planned upon composing the message. For example, if the frequency of sending scheduled messages is set as 10 minutes (so, every 10 minutes the messages are checked and sent), and there is a message that is scheduled to be sent at 14:39 and a message that is scheduled to be sent at 14:41, then the first message will be sent at 14:40 (with 1-minute difference) and the second one at 14:50 (with 9-minute difference).
Messages that are 'In the past' but have not yet been sent are marked in the chat as 'Awaiting delivery'. Such messages can be edited or forced to be sent. But only until they are processed by the scheduled job. Otherwise, the list of messages will be updated to the current one when the button is clicked.
When sent, scheduled messages become normal Odoo messages linked to a target object thread. The author of the message is the sender, that composed it. There are no notes/elements, which specify that the message was scheduled. Therefore, recipients will never know that a message was written in advance and has not been just sent.
Access Rights
To schedule a message, a user should have the right to edit a linked object. For example, if Abigail Peterson has the right to edit the sales order S04384, then she also has the right to schedule a message.
Such a user will also be able to manage all related to the object scheduled messages, even the ones that are written by other users. For example, if Mitchell Admin scheduled a message in Abigail Peterson's sale order she can see and manage it.
If a user has read rights to the target Odoo document, he/she can only see the list of scheduled emails related to the object. For example, Abigail Peterson has read rights to the article 'Odoo Proprietary License v1.0', so she can see the list of scheduled messages, but cannot edit them and cannot schedule her message.
To see and manage all scheduled messages through the special technical menu, a user should have the right 'Scheduled Send Option: Administrators' assigned. To assign the role to a user:
1. Go to General Settings
2. Click 'Manage Users' and choose a user
3. Find the field 'Schedule Send Option' and choose the option 'Administrators'.